Milo butterflies, Formosa Koa Art
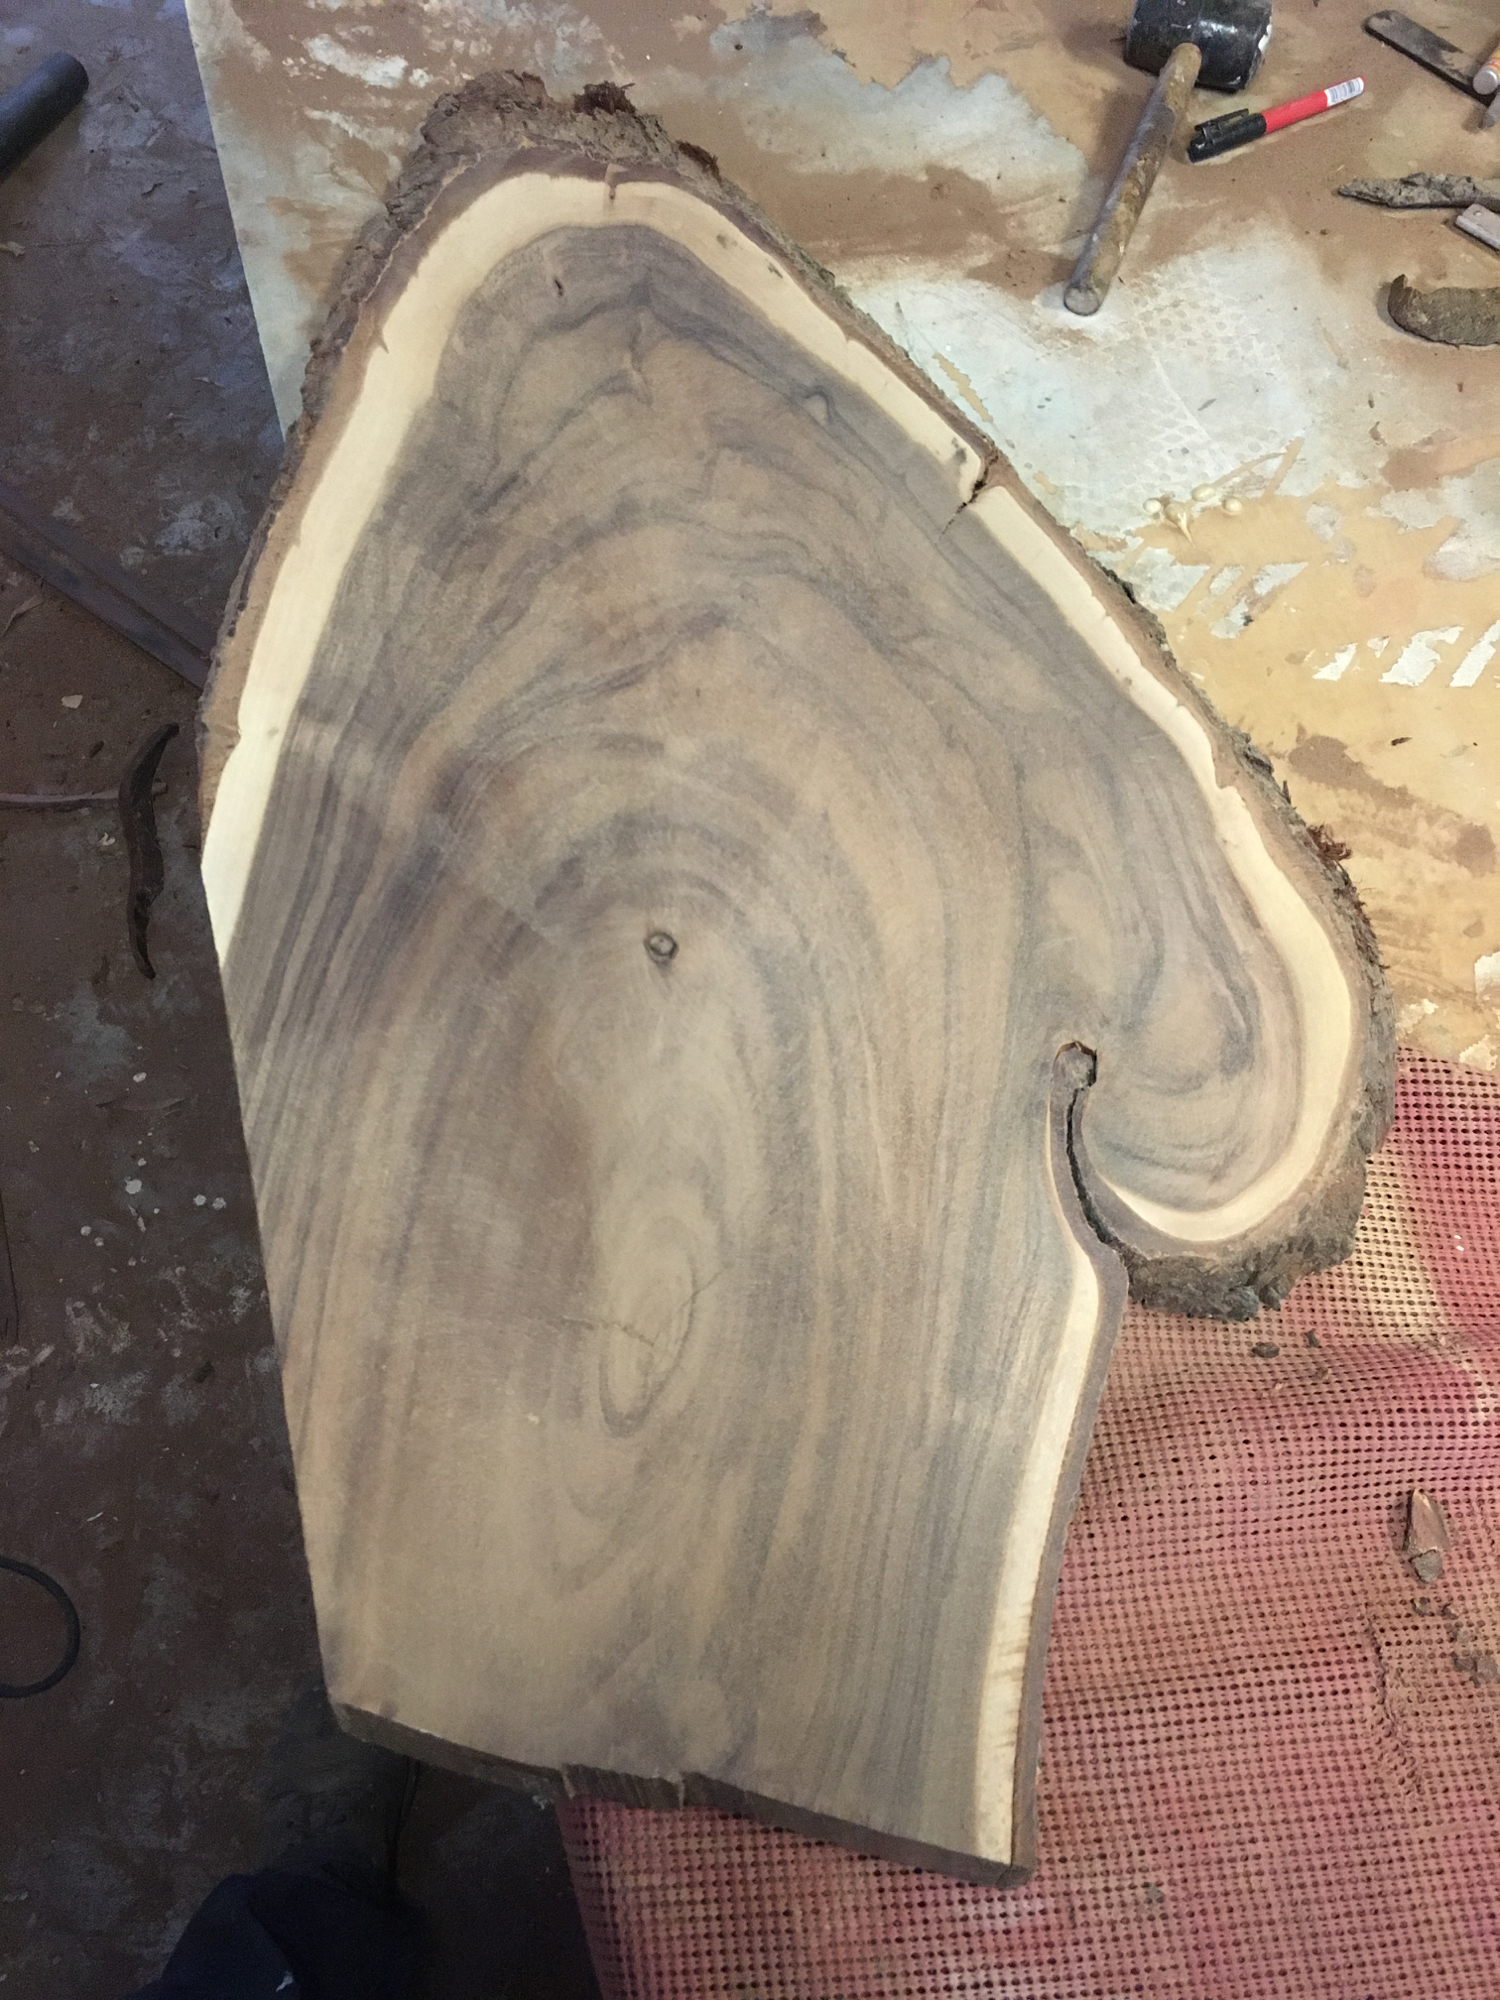
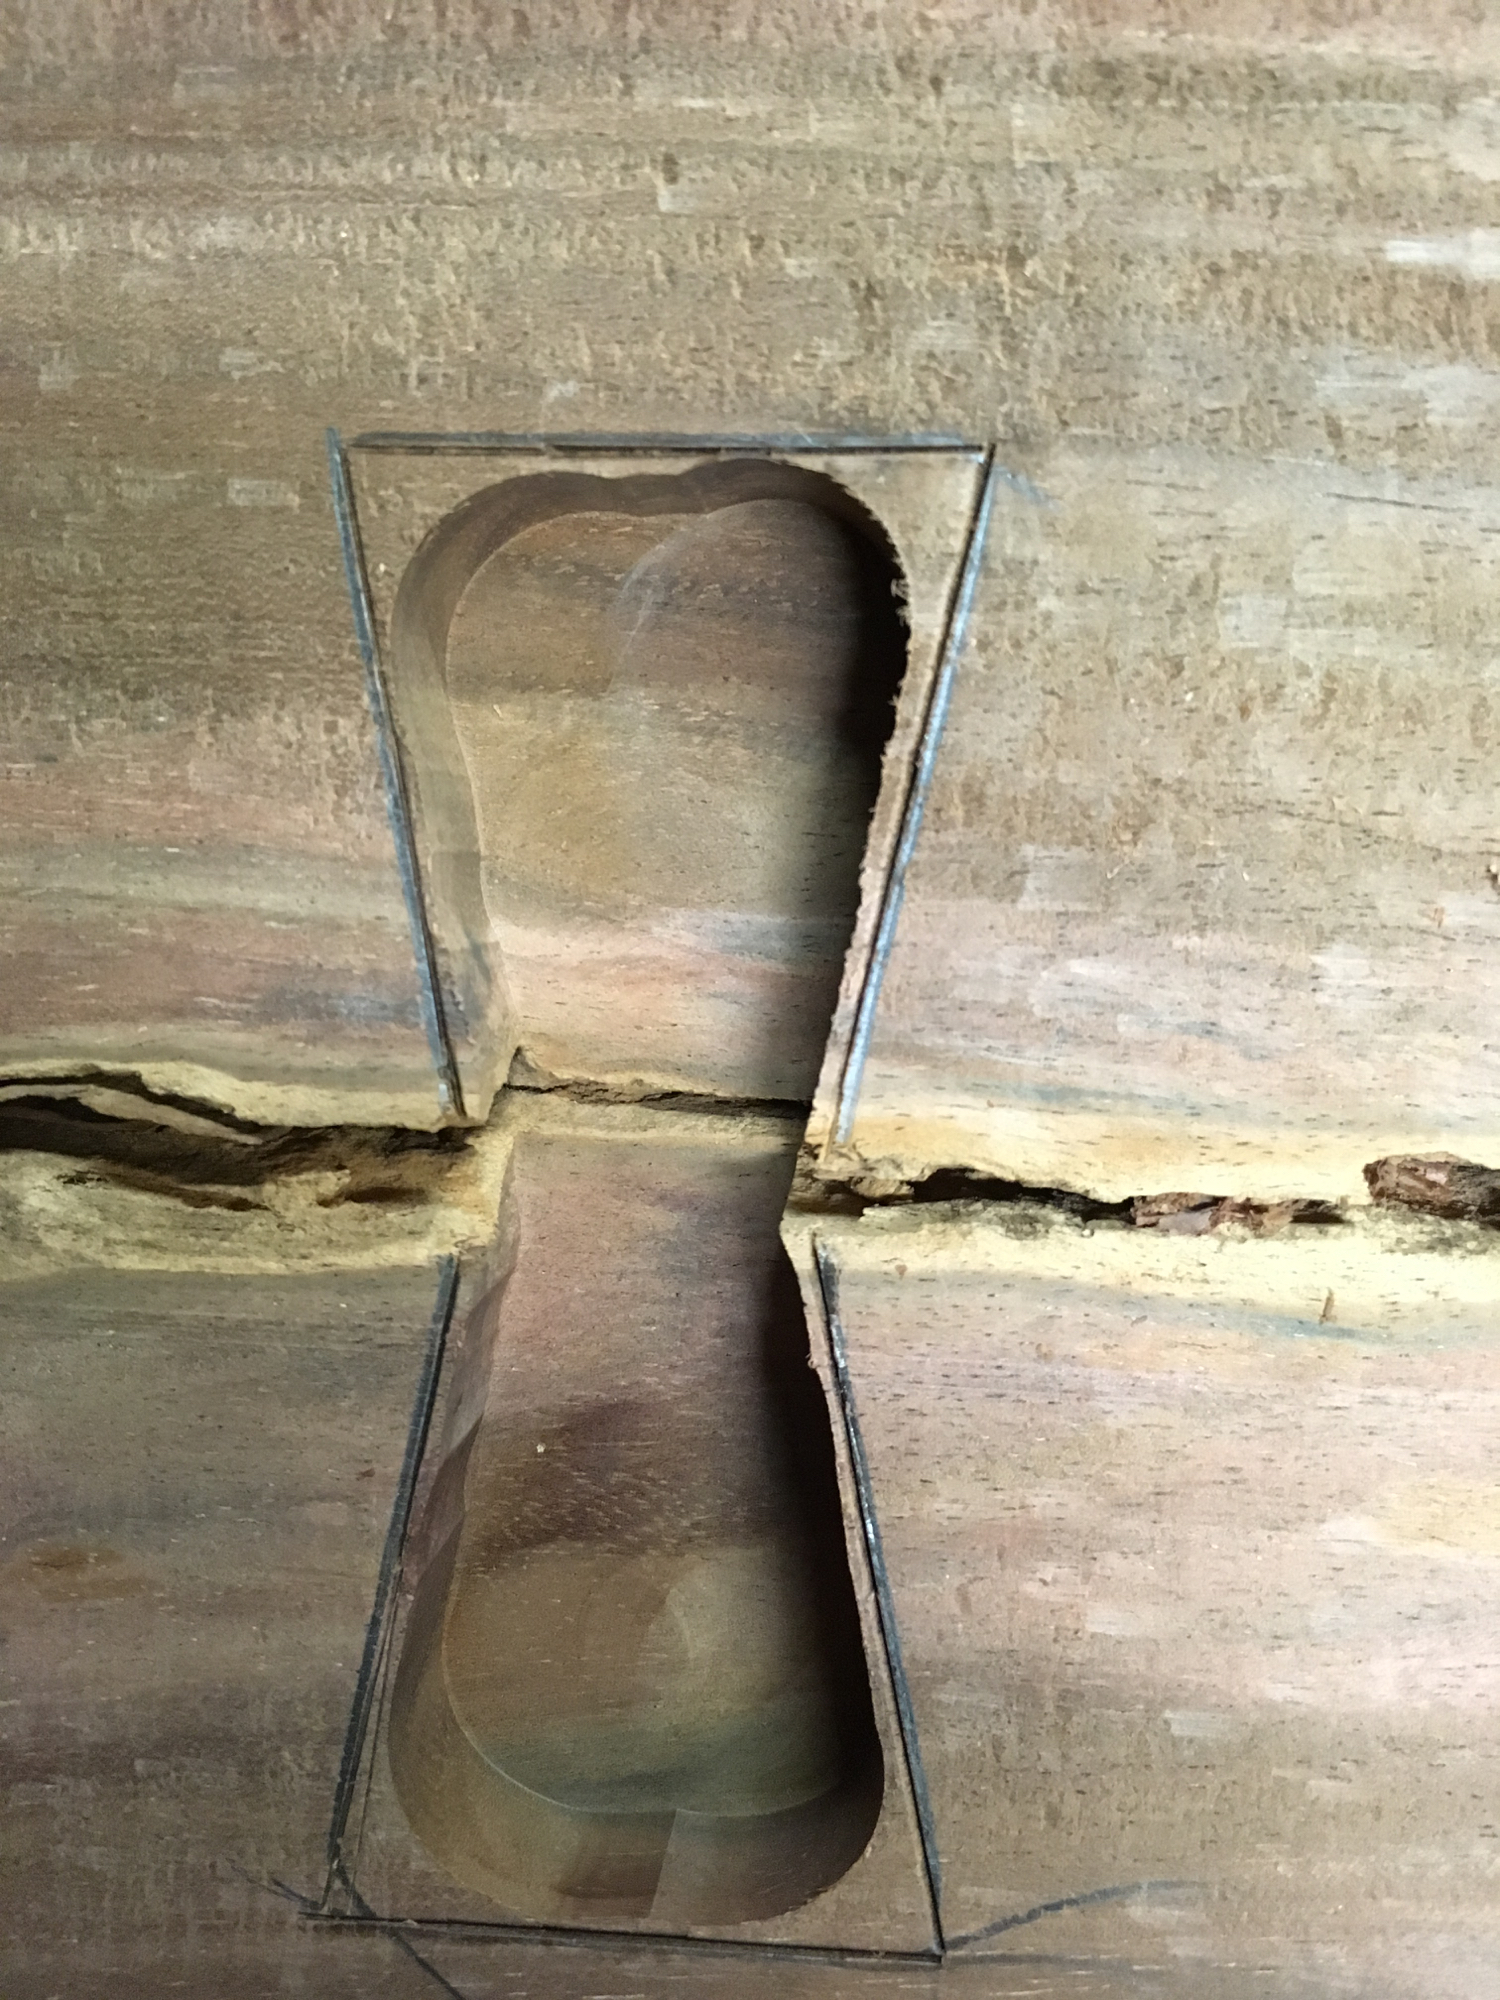
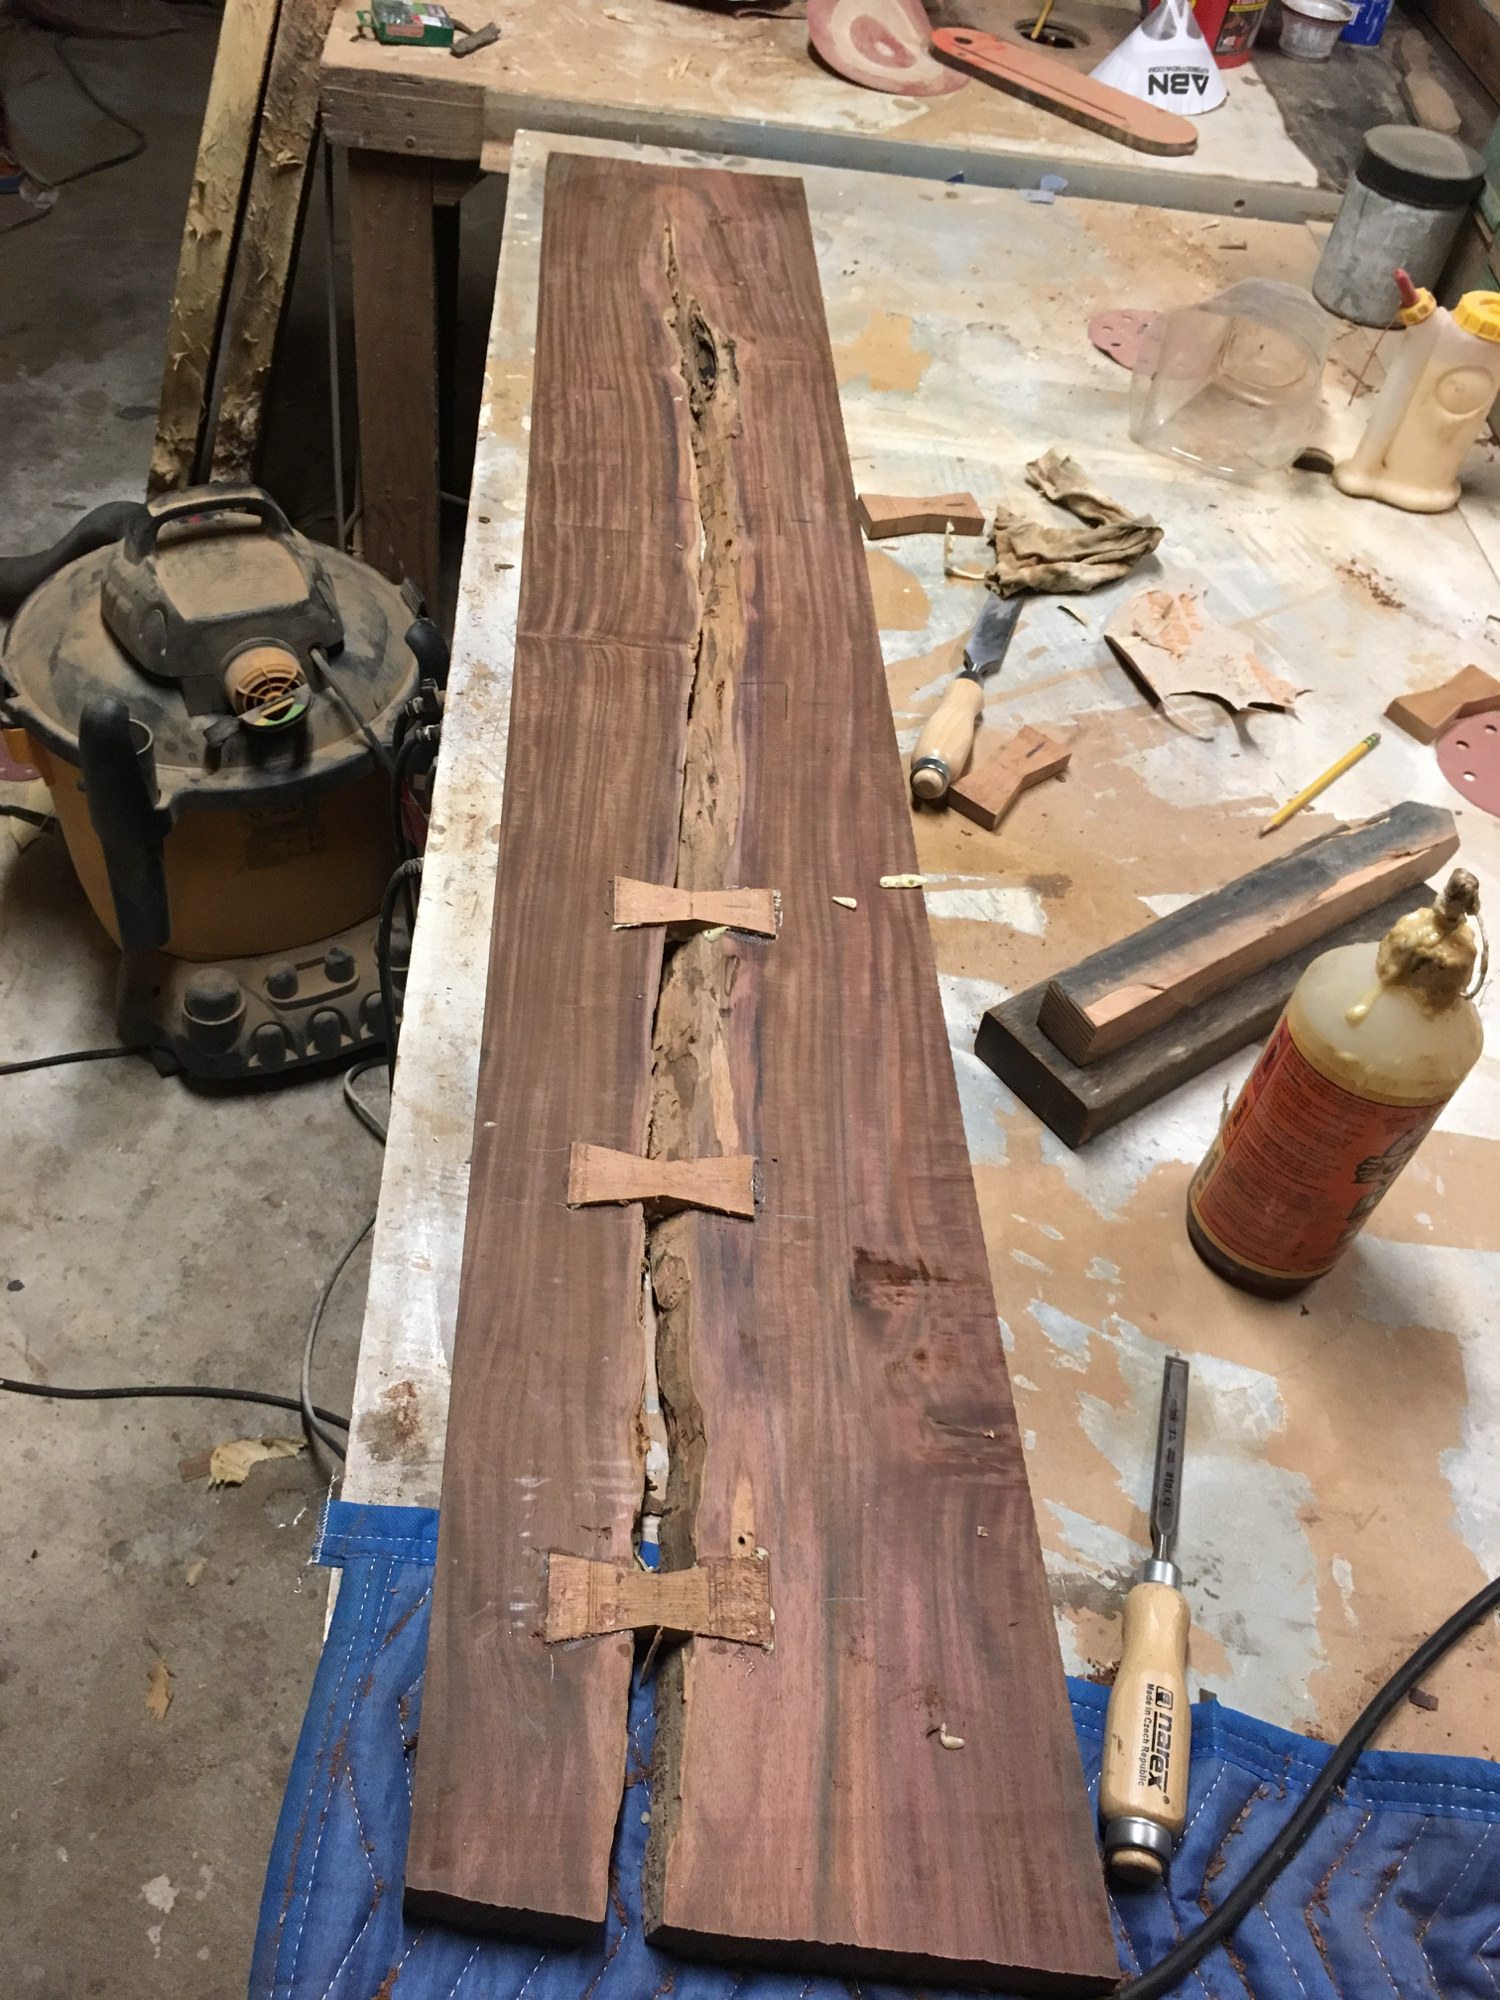
I got a really cool piece of milo that has a big natural bark pocket in the center. This piece seemed to be a good excuse to practice my bowtie mortising skills, so I went to work. Sorry that I don't have a really complete set of pictures, but hopefully there are enough to kind of tell the story.
Heres the steps that I've been using. I'm sure there are better ways and I'll learn them eventually.
- Trace out the shape of the butterfly onto a piece of wood, ~ 1/2" thick. I used koa for this piece. Also, make sure the grain is going the length of the butterfly so it has ultimate strength.
- Cut this shape on the band saw. Repeat seven times for this project.
- Clean up the edges of the butterflies with flat sandpaper.
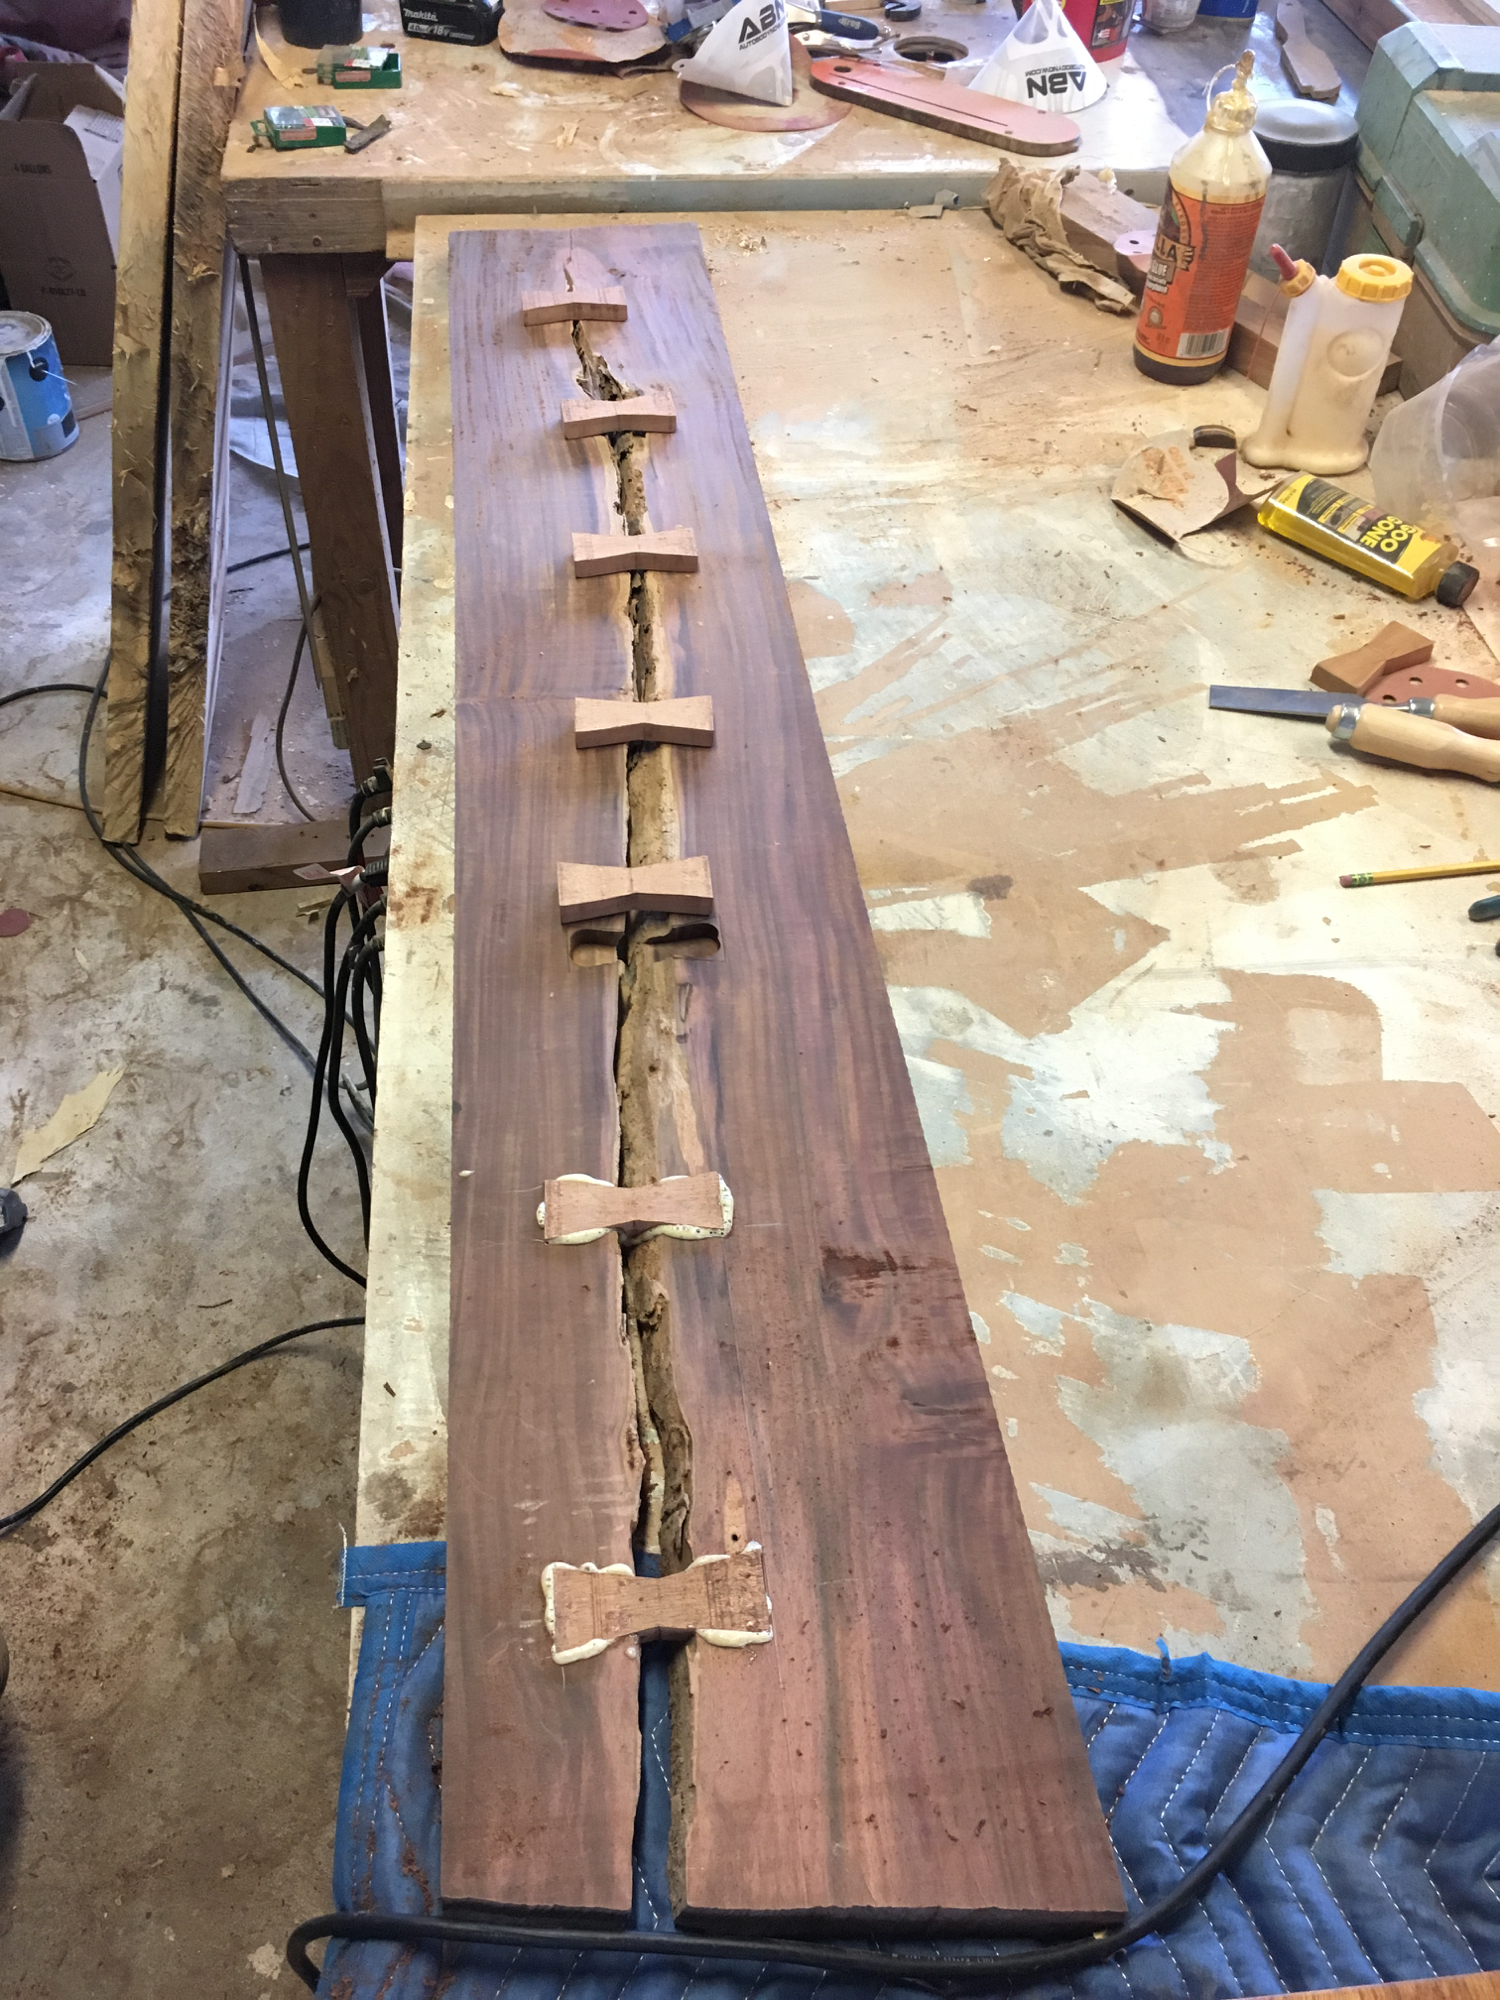
- Trace the butterflies onto the piece, and then make small cuts along the pencil markings with a chisel. This can be done with a marking knife instead (probably better), but this is the way I chose to do it.
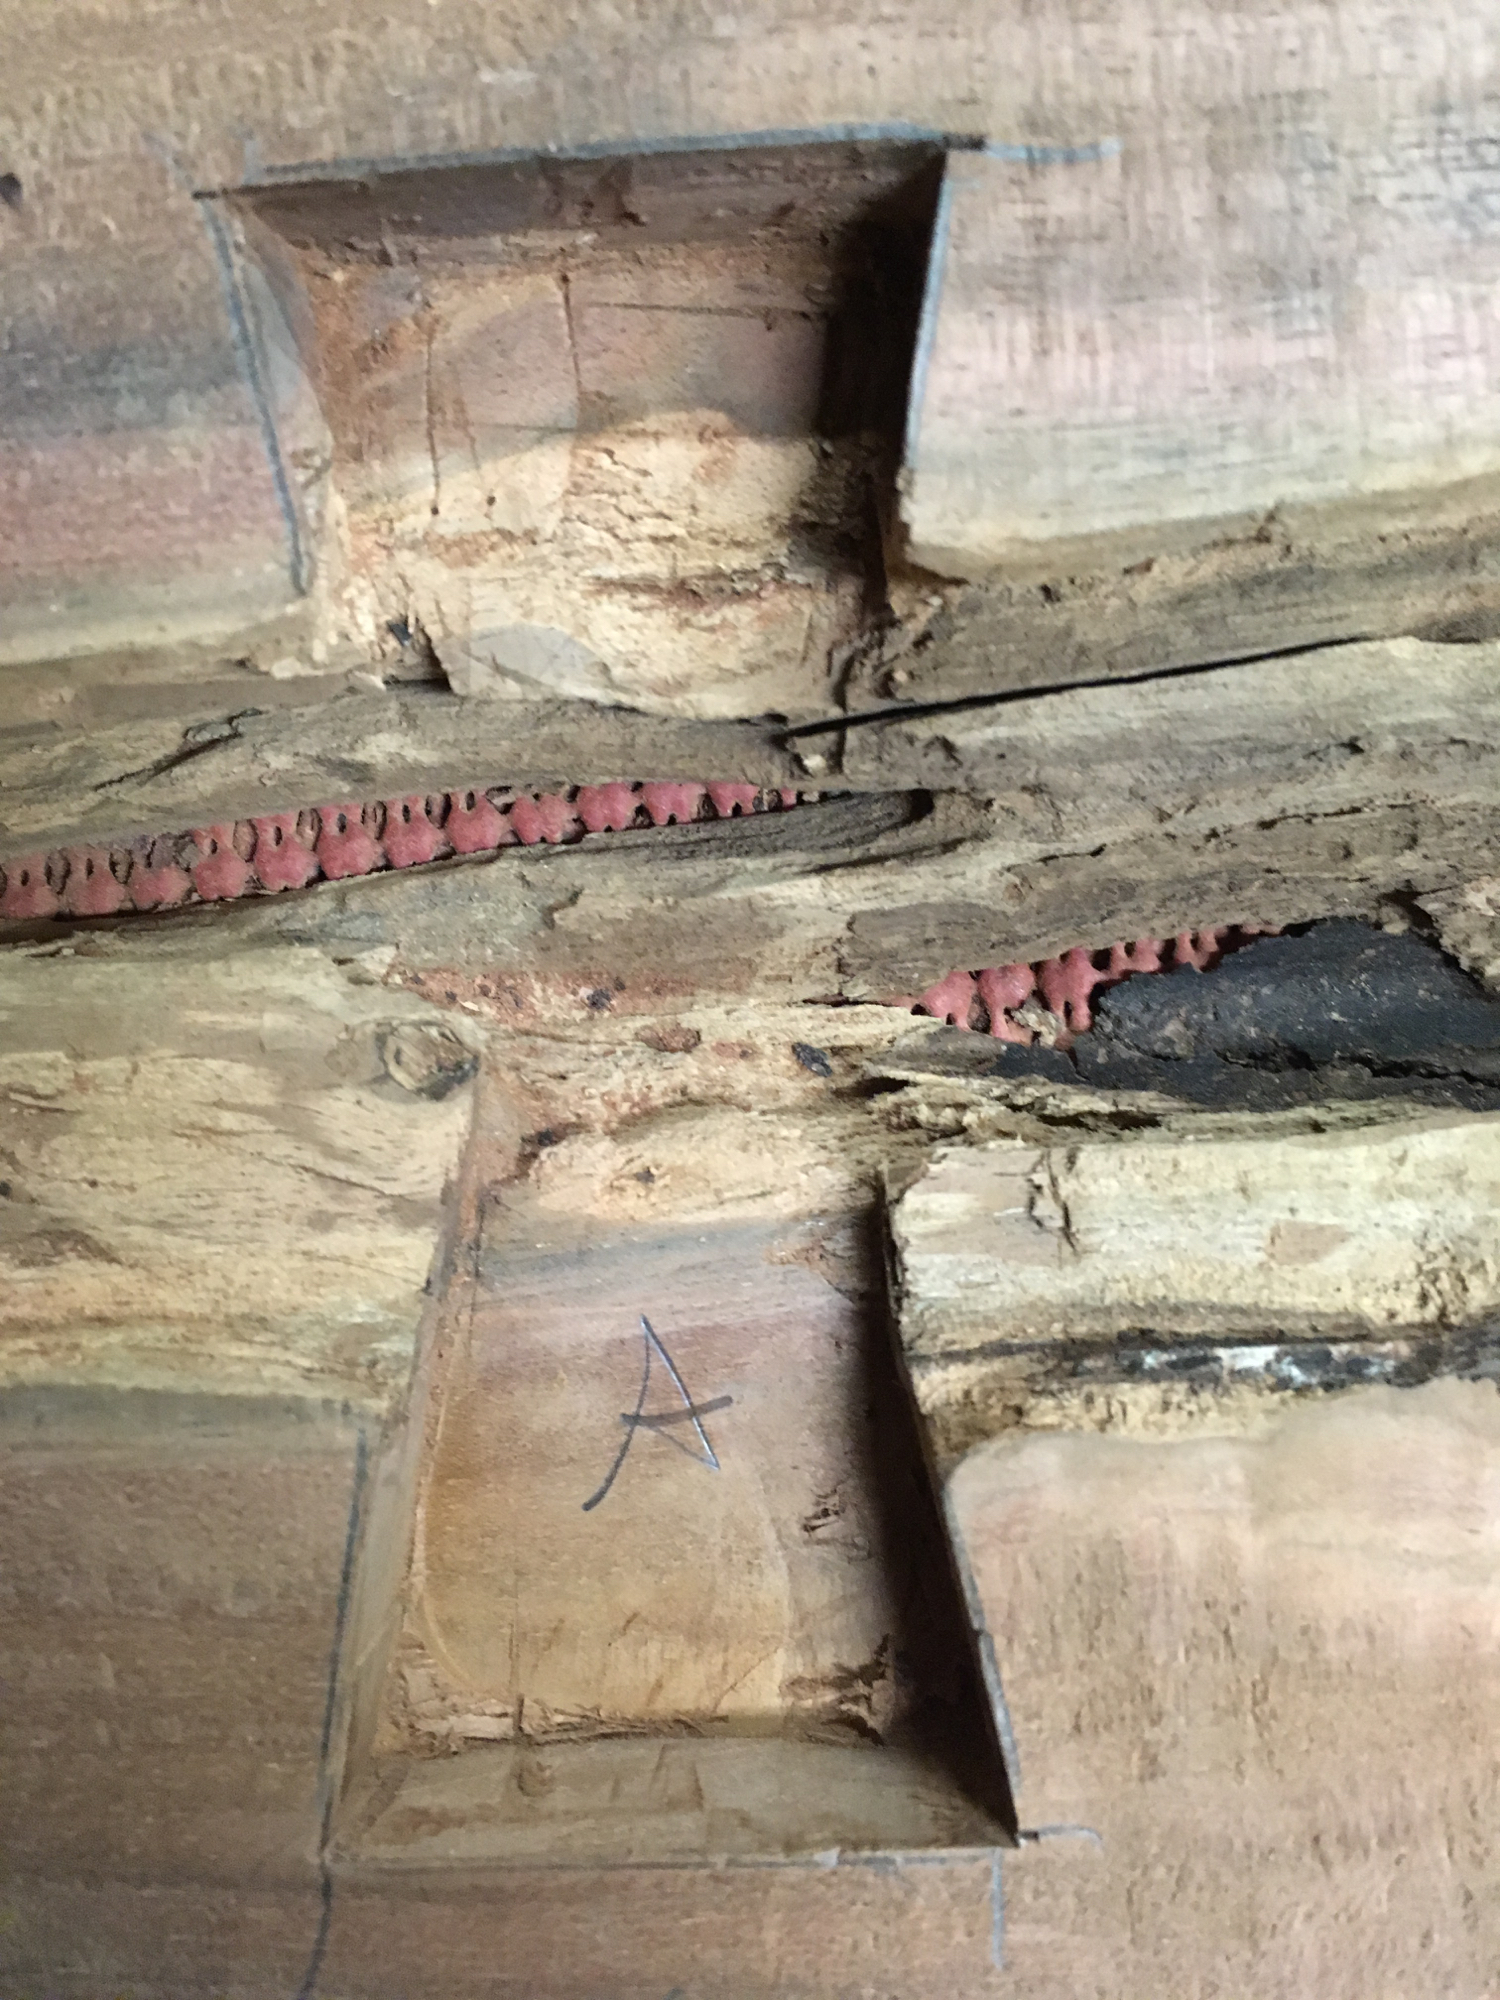
- Set a router bit to the proper depth of the butterfly. You want to cut the mortise slightly more shallow than the butterfly so that you can sand/plane the butterfly flush to the board at the end. I used a 3/4" diameter pattern bit that I set to the proper depth. Try to get as close to the knife marks as possible but definitely be careful not to go outside the lines.
- Use a chisel to trim the edges precisely to the lines! This is probably the most time consuming part and also most technique intensive. As with all of these steps, there are many specific tools one can use, but I think the most important part is making sure your chisel is SHARP.
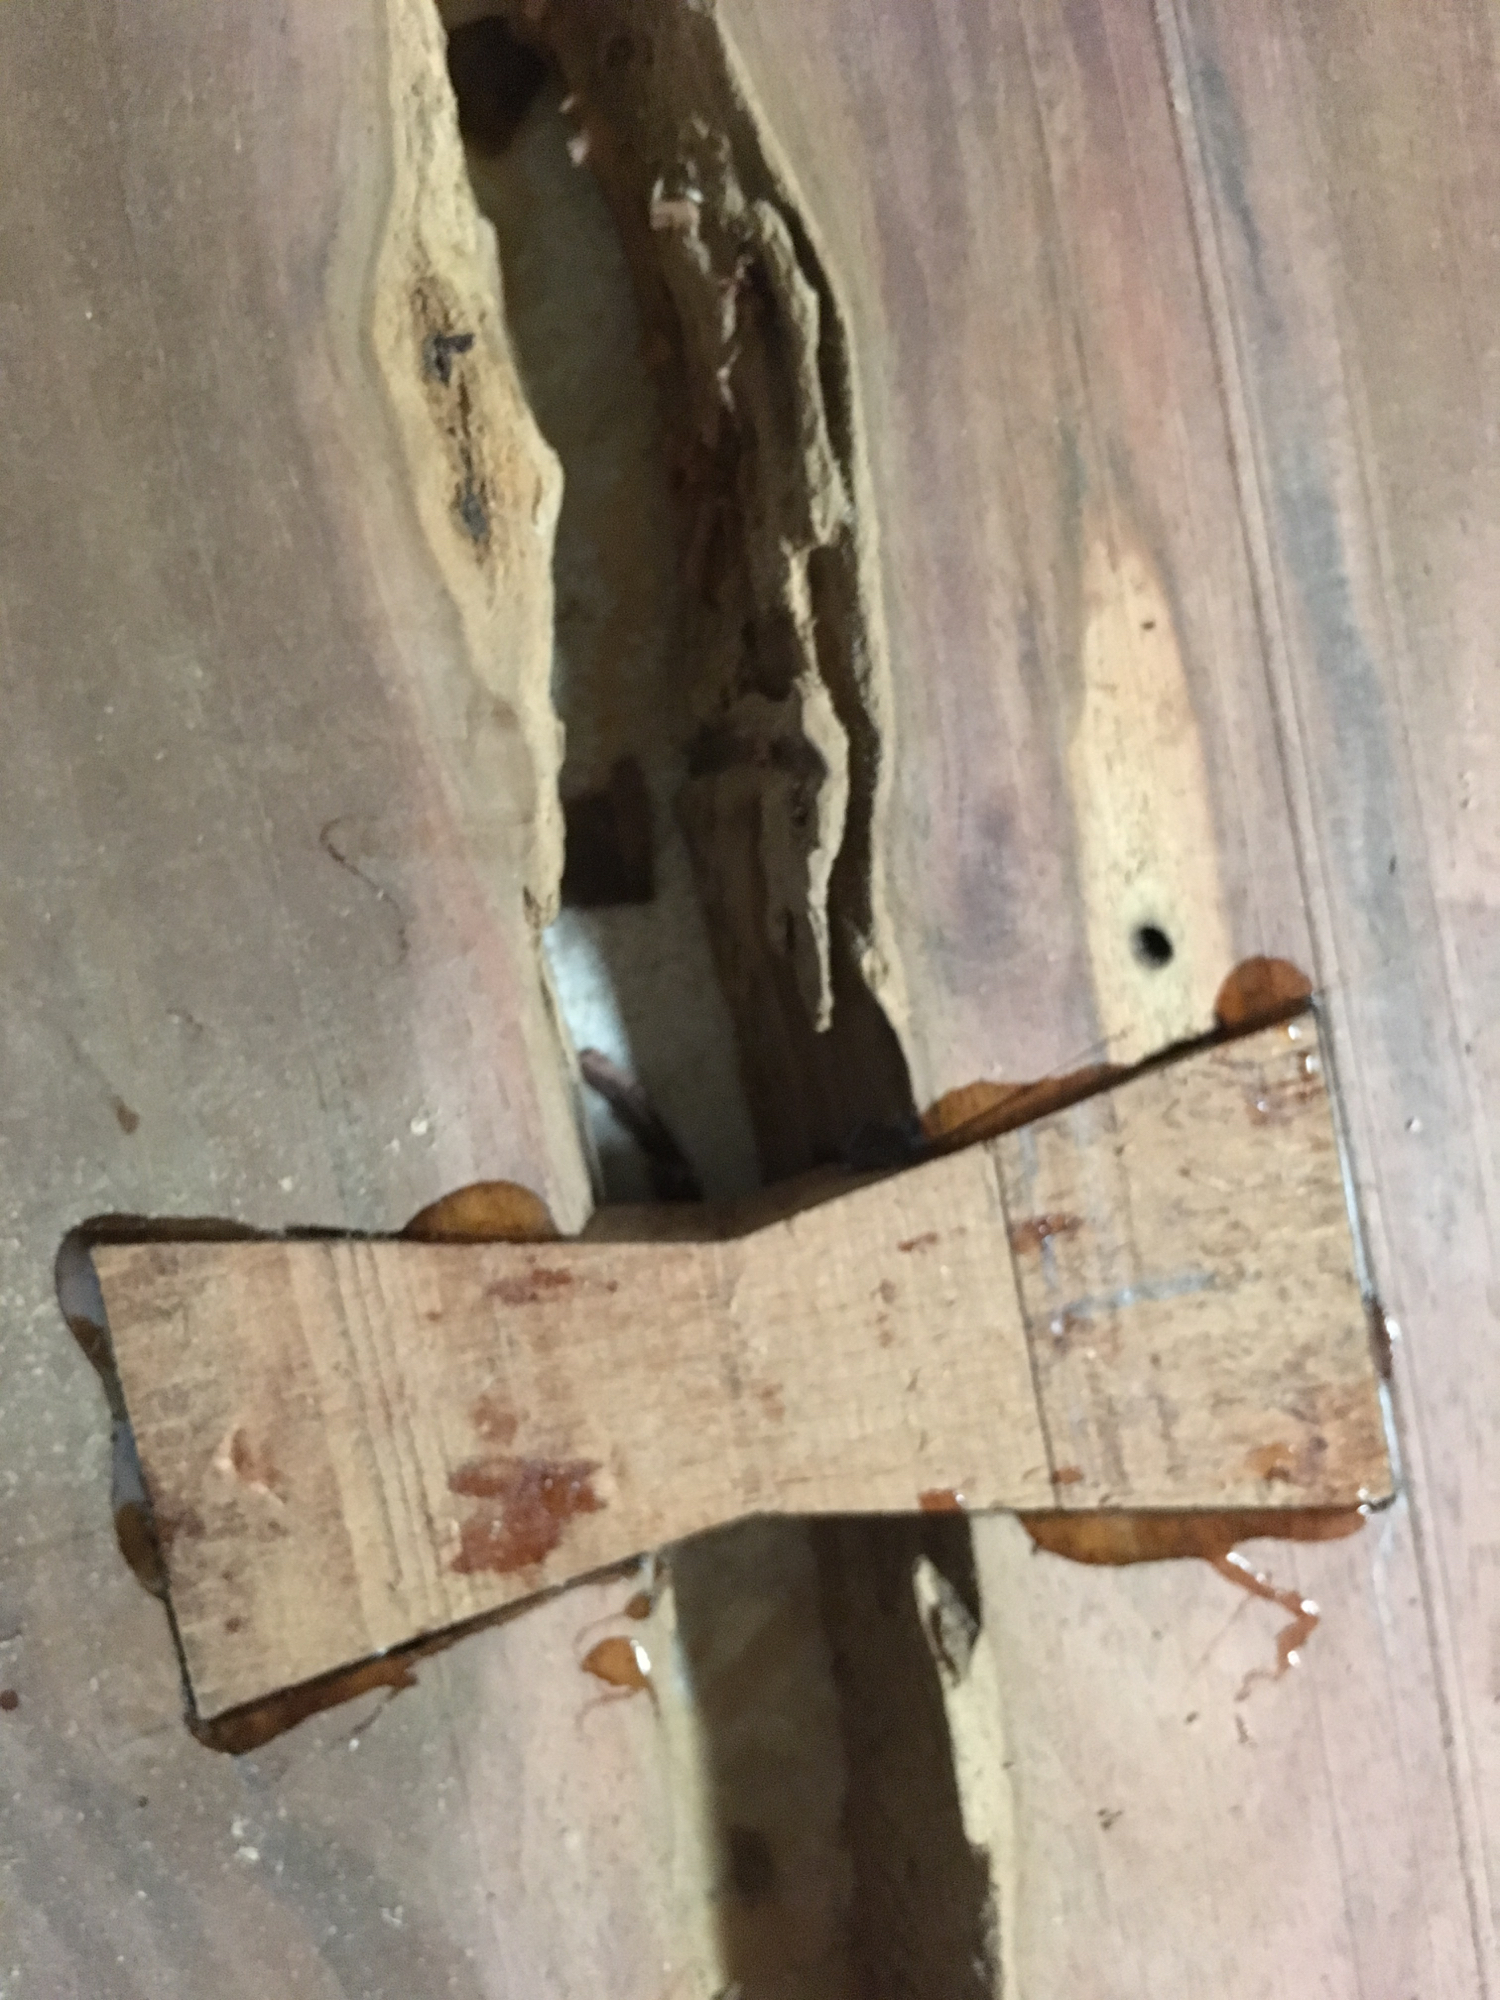
- Test the fit of the butterfly to the mortise. It should drop in very snugly. If it looks like it'll go in properly. pull it out and put glue in the mortise. I used Gorilla glue. Smash the butterfly down in there with some good taps of a mallet, and you're all set!
- Once all the butterflies are set and glue is dried, you can either sand or plane them flush to your board. I sanded them, and then sanded the entire piece.
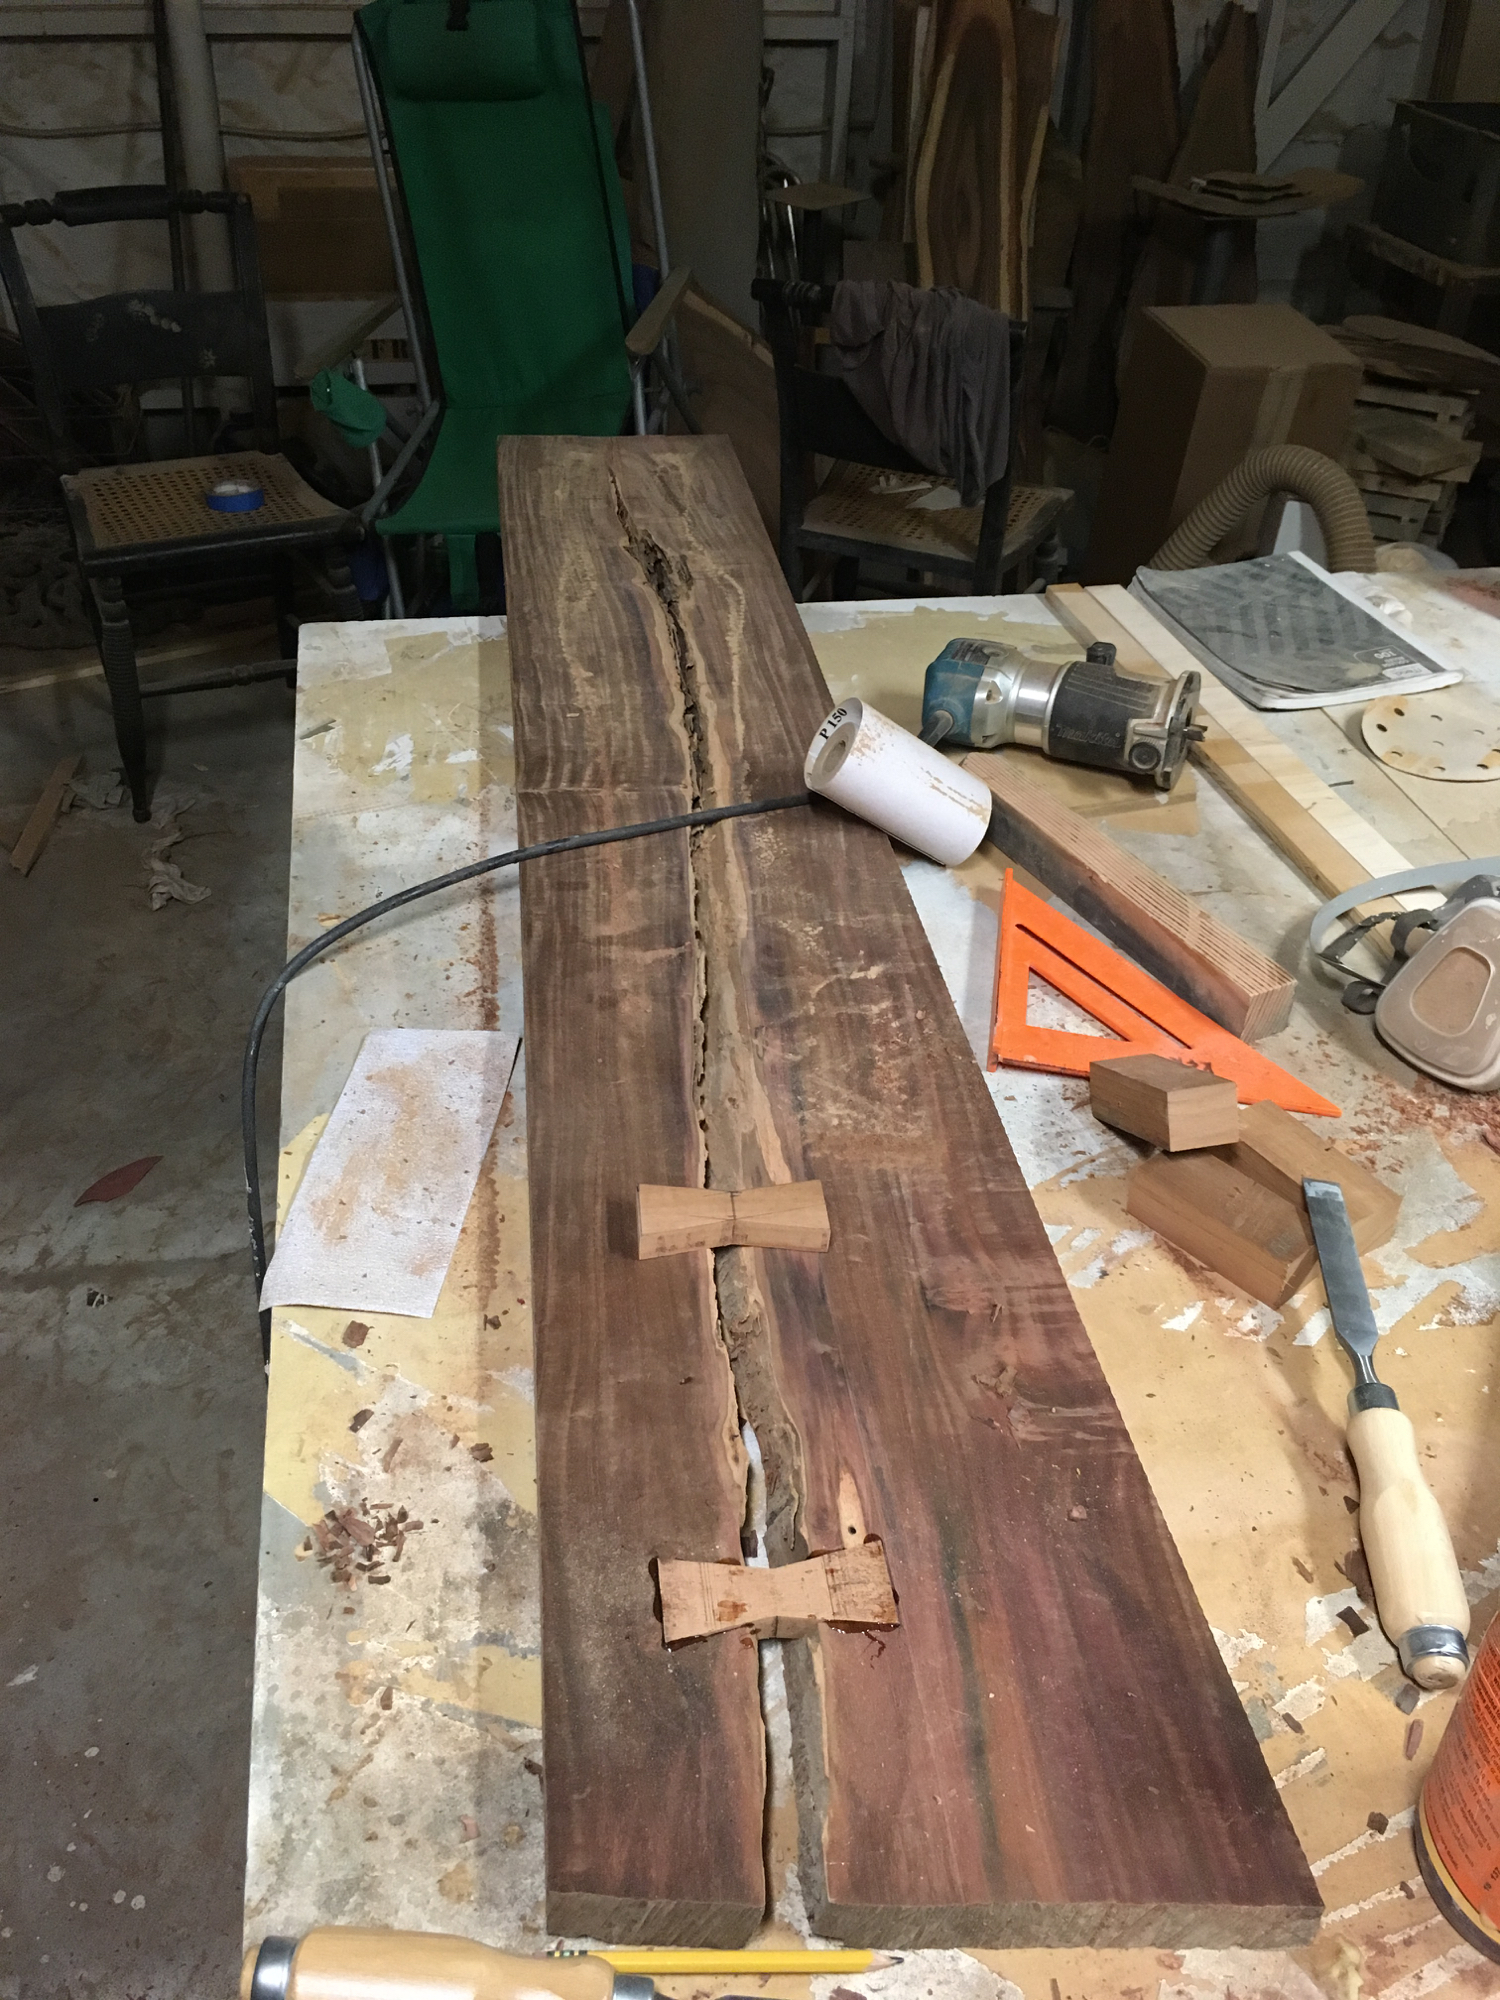
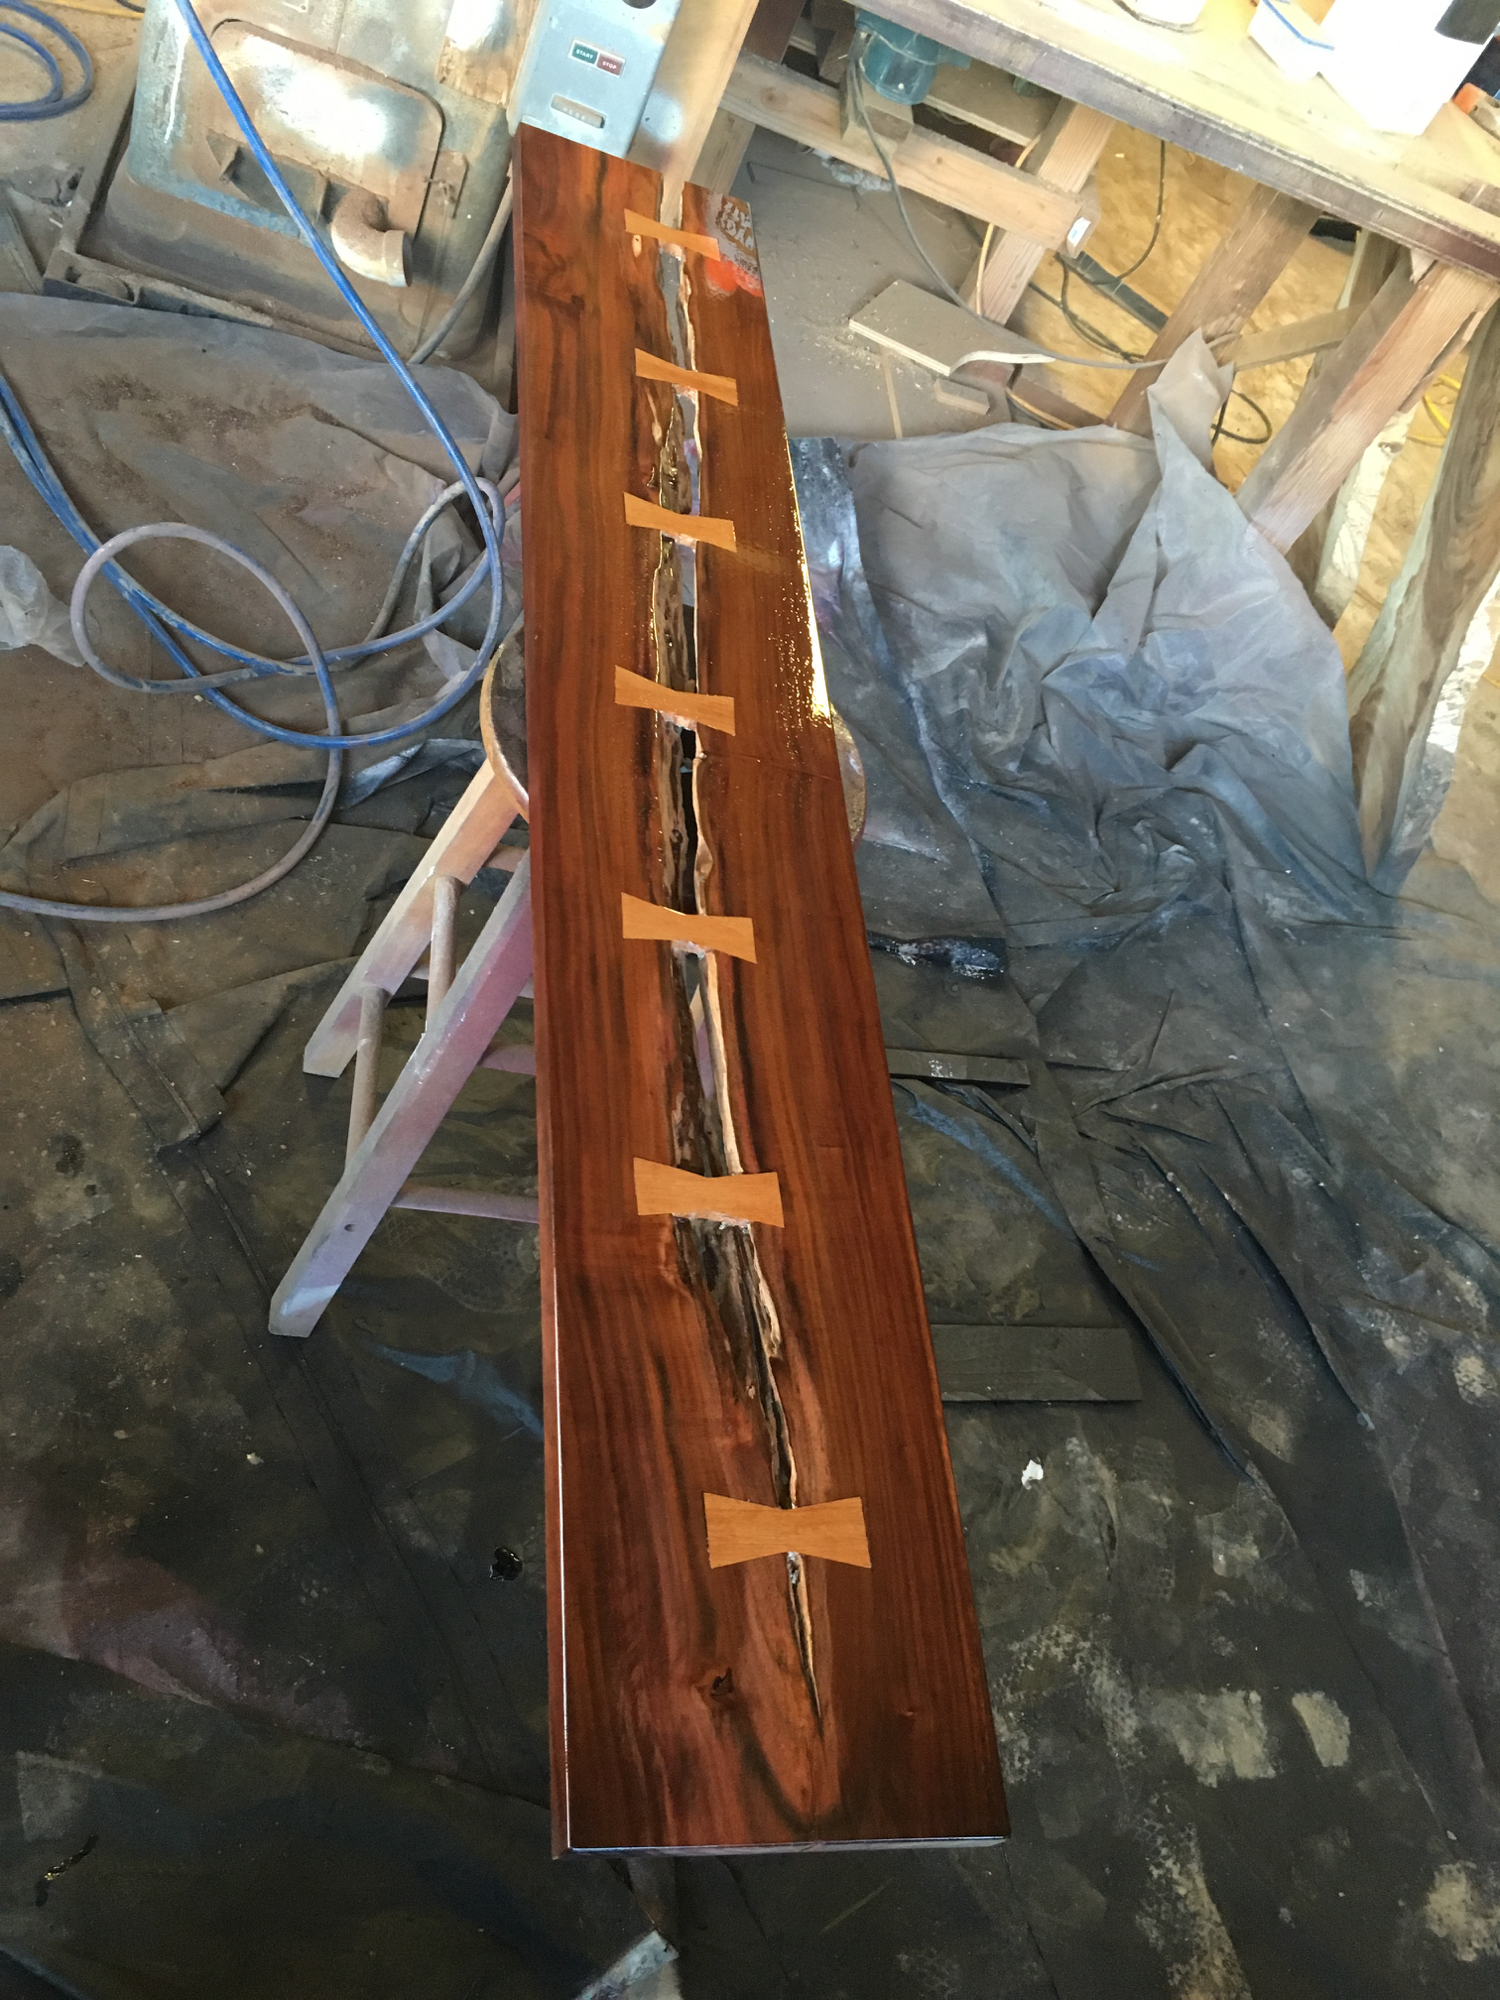
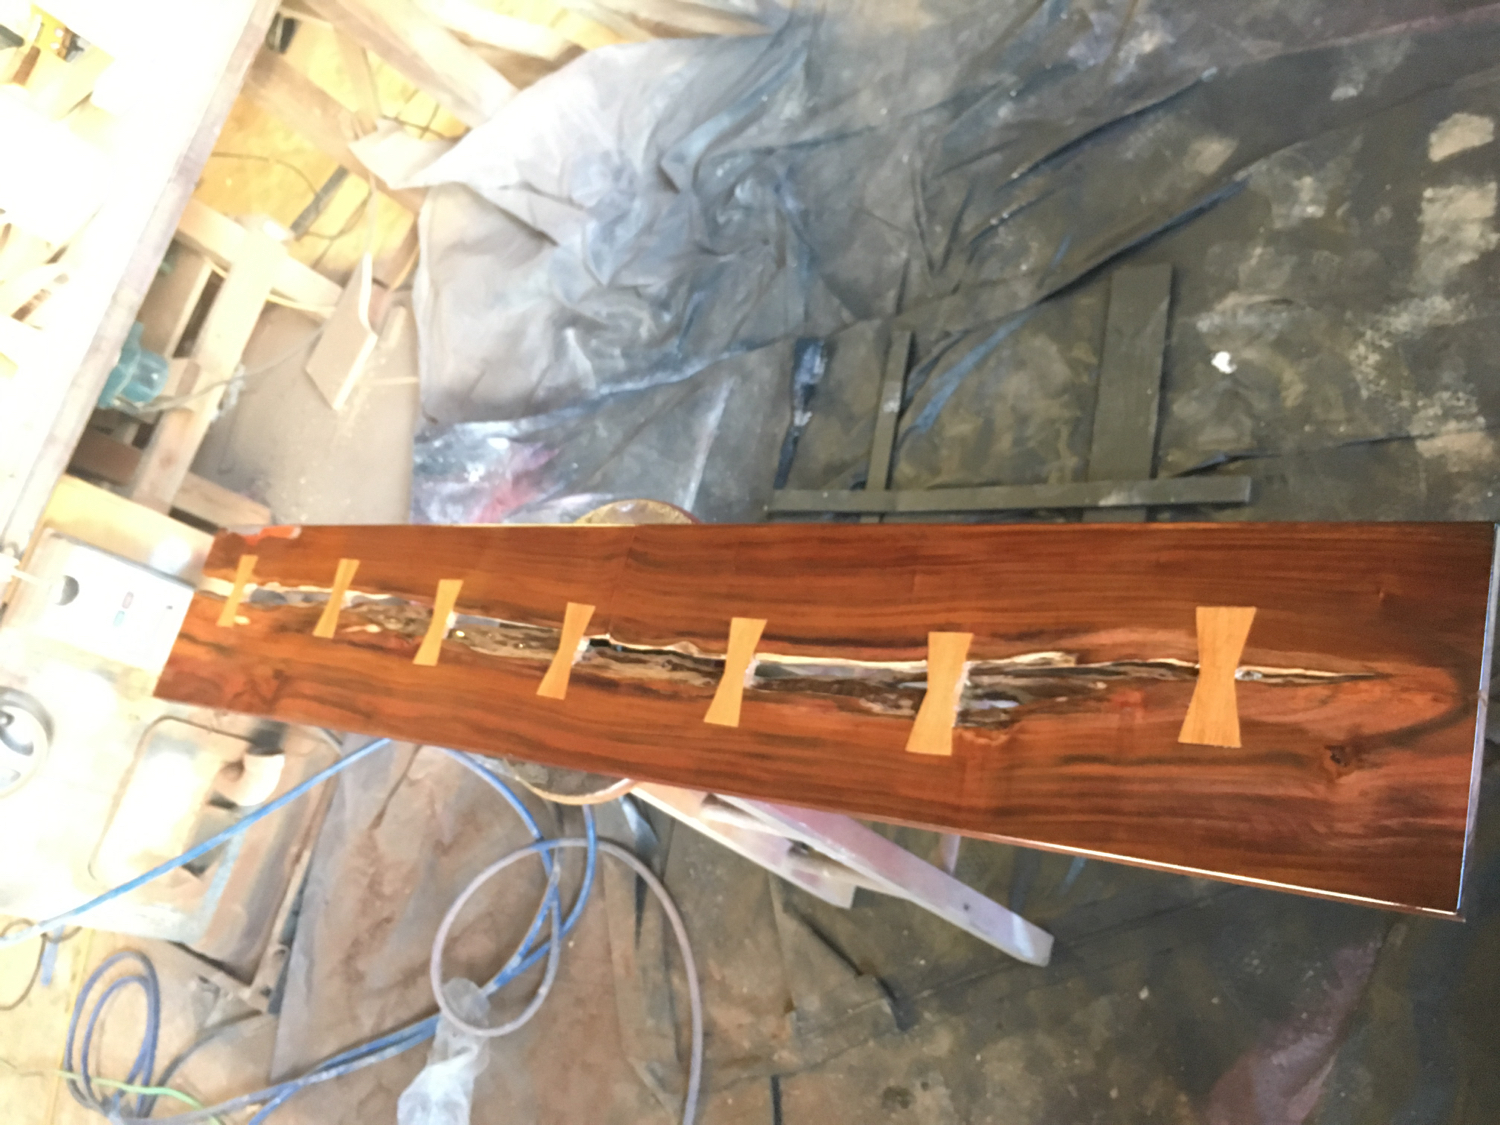
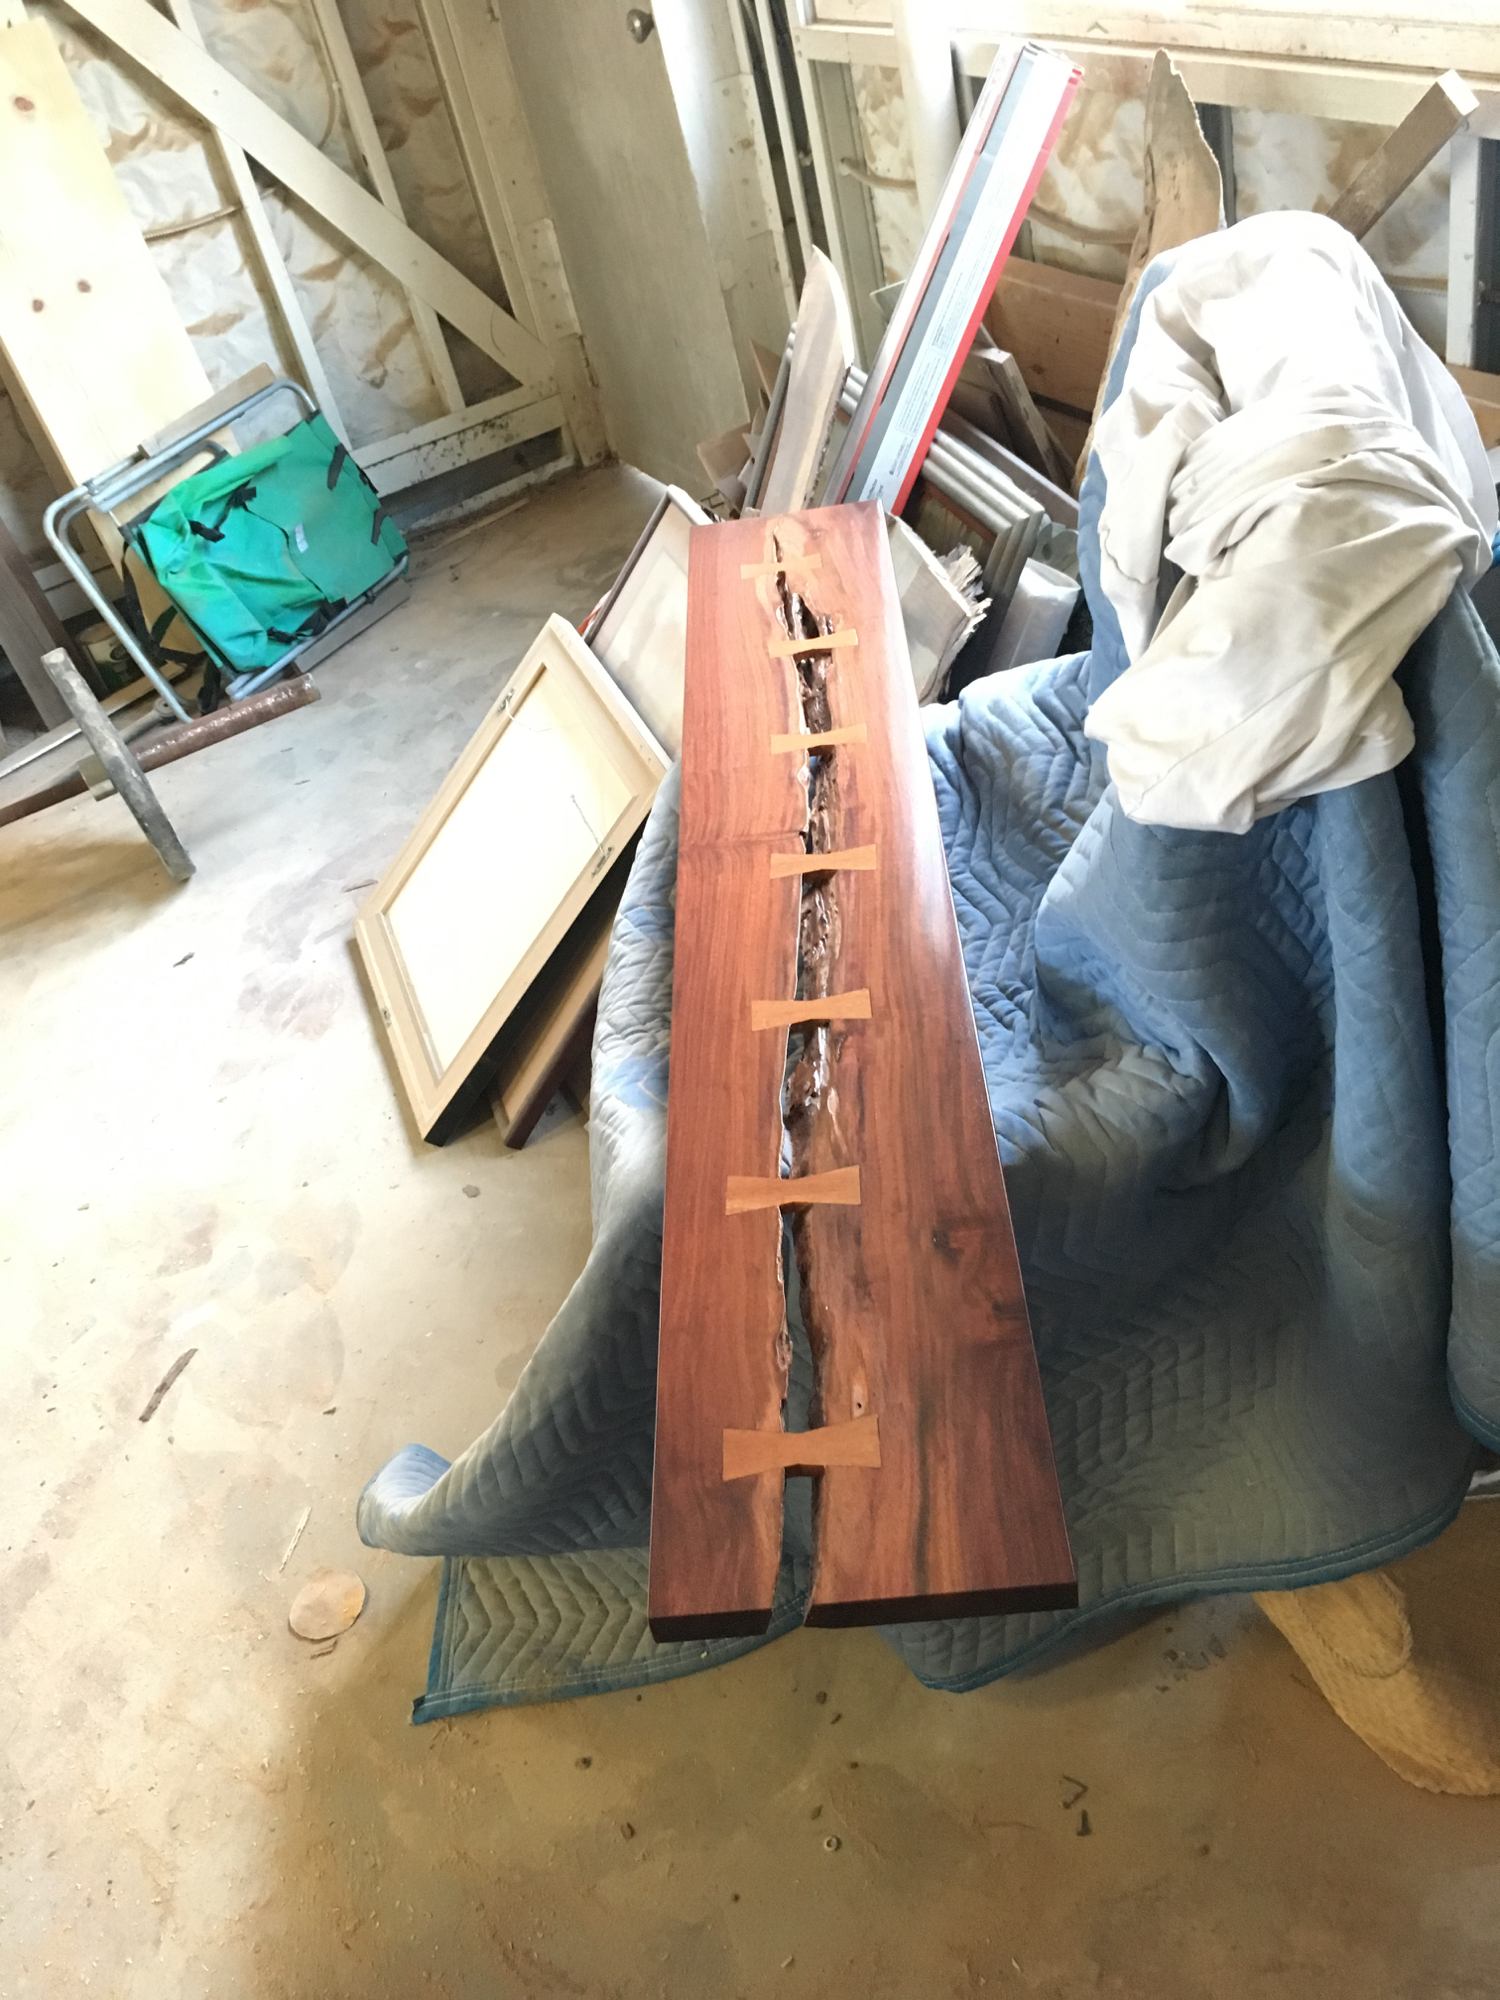
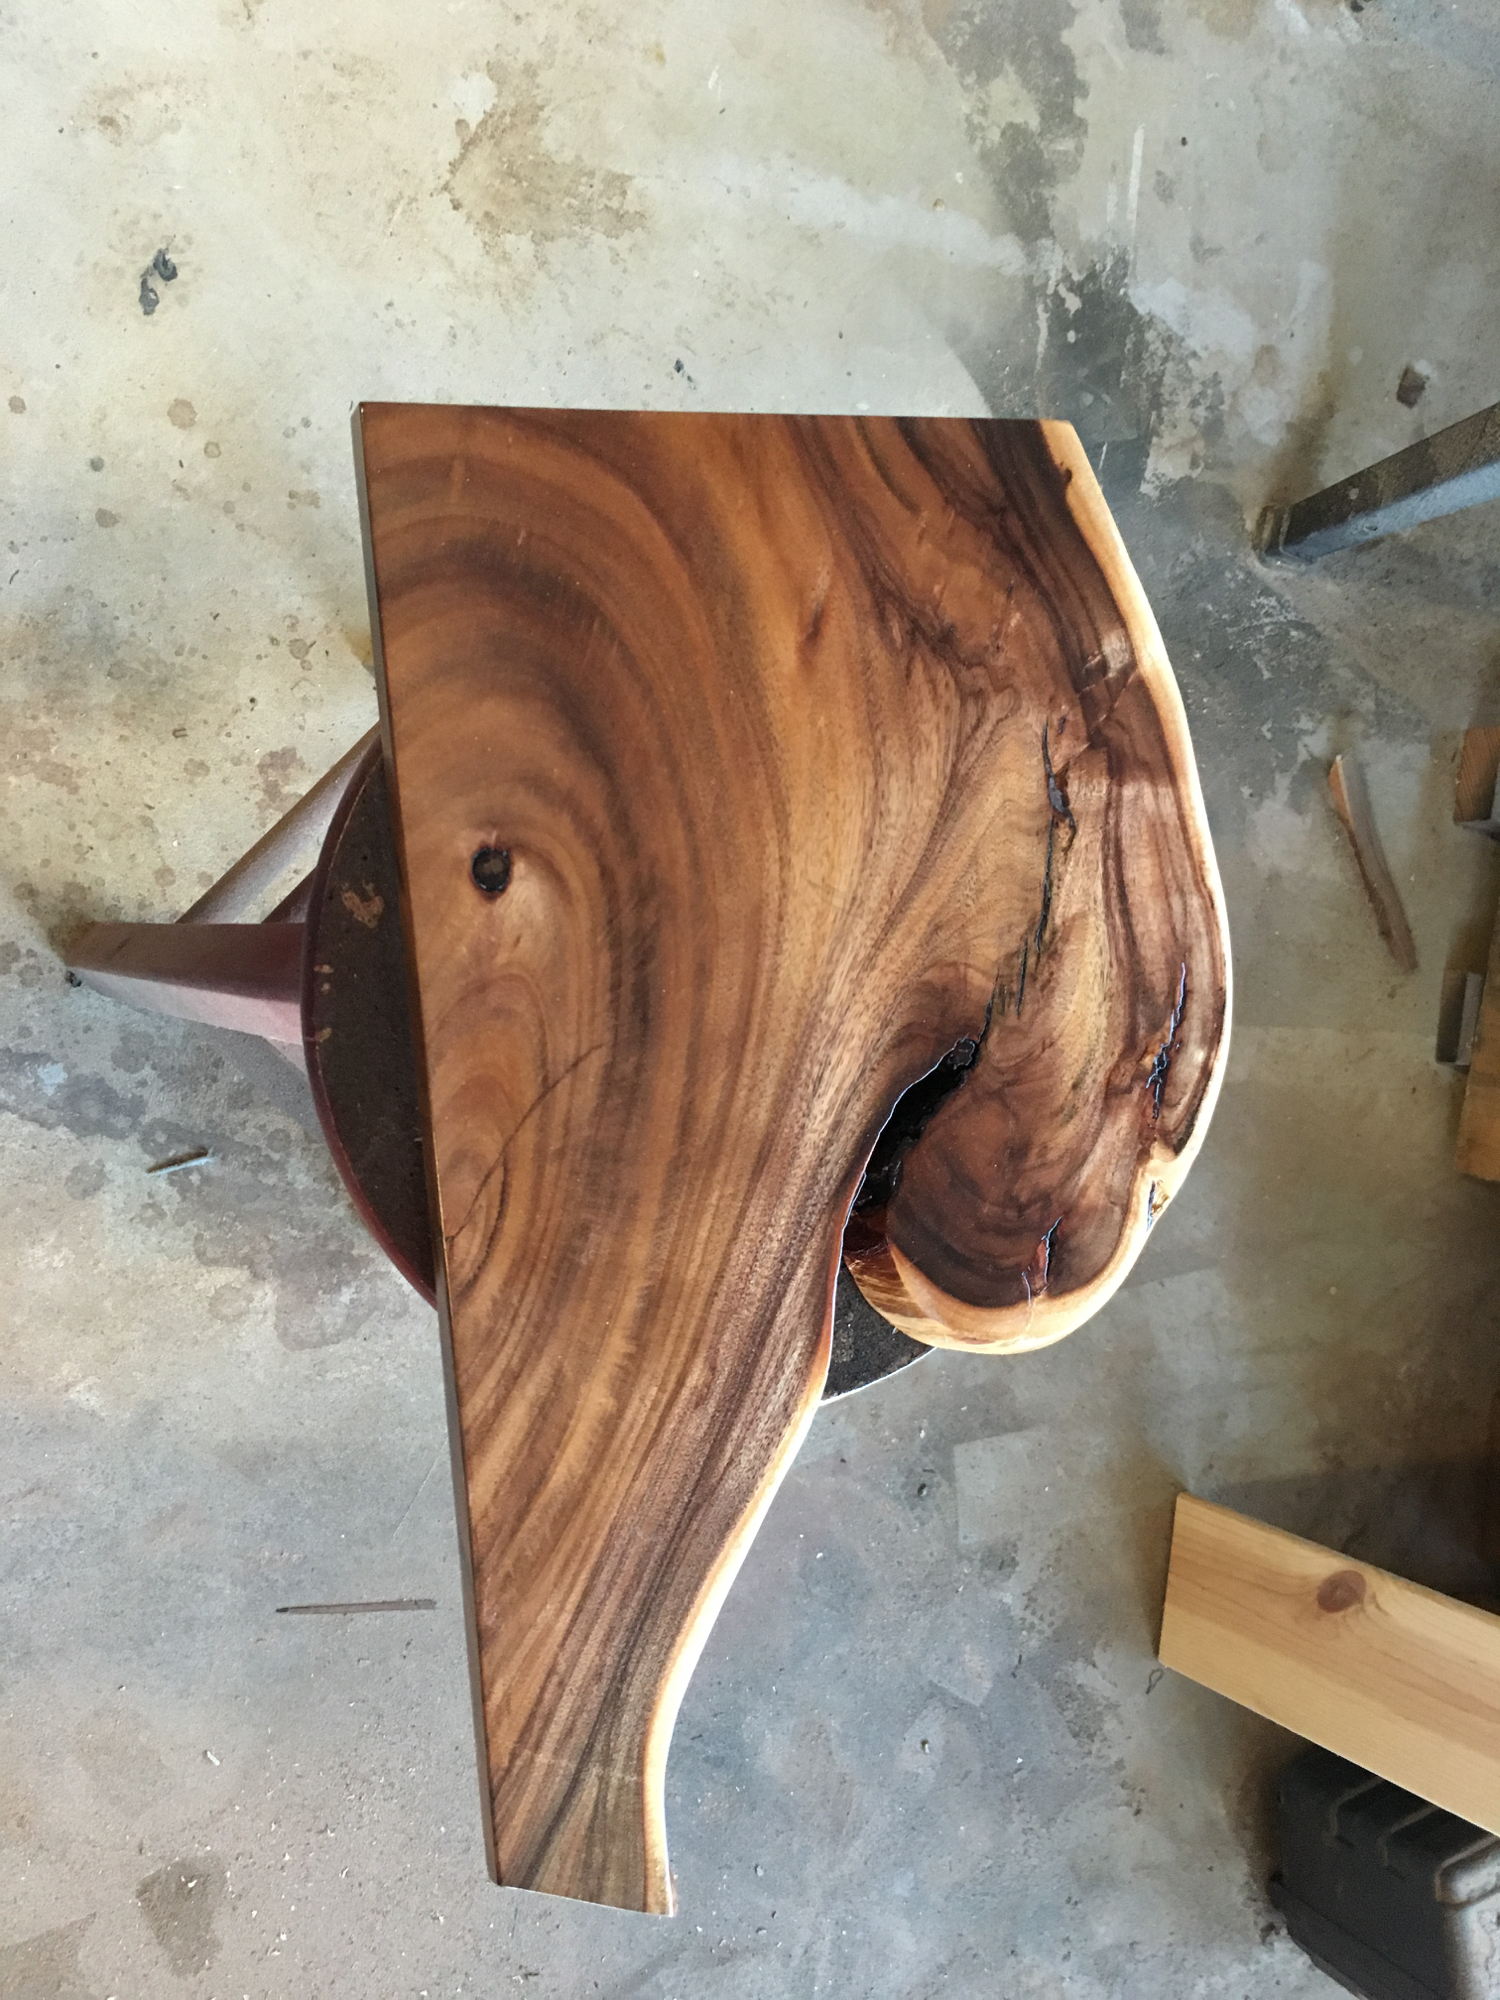
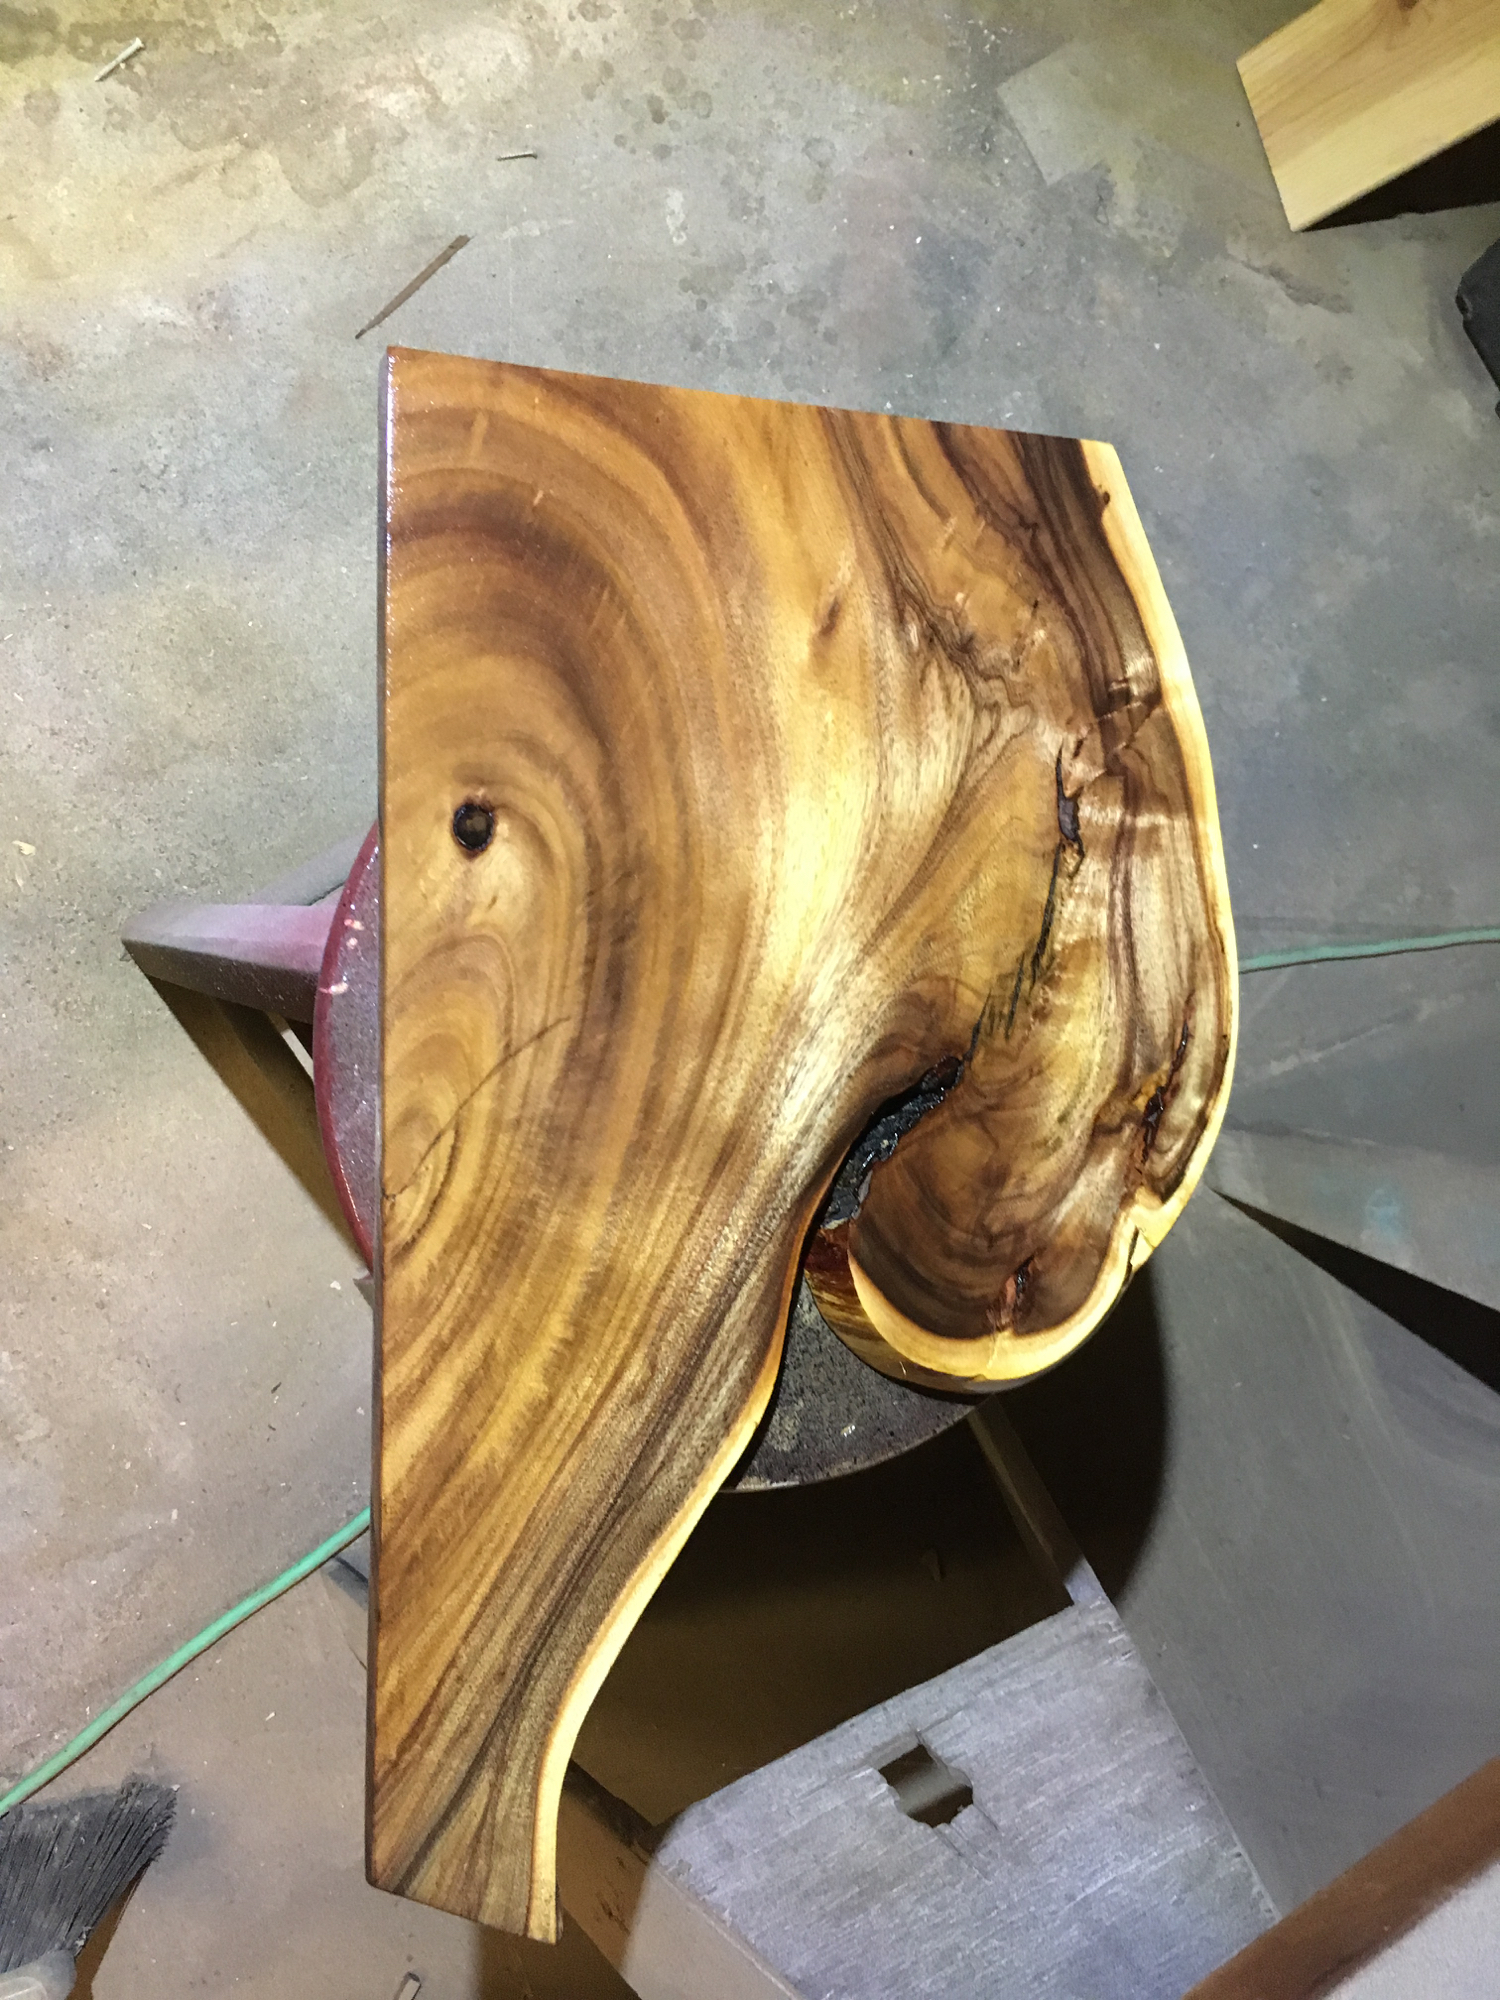
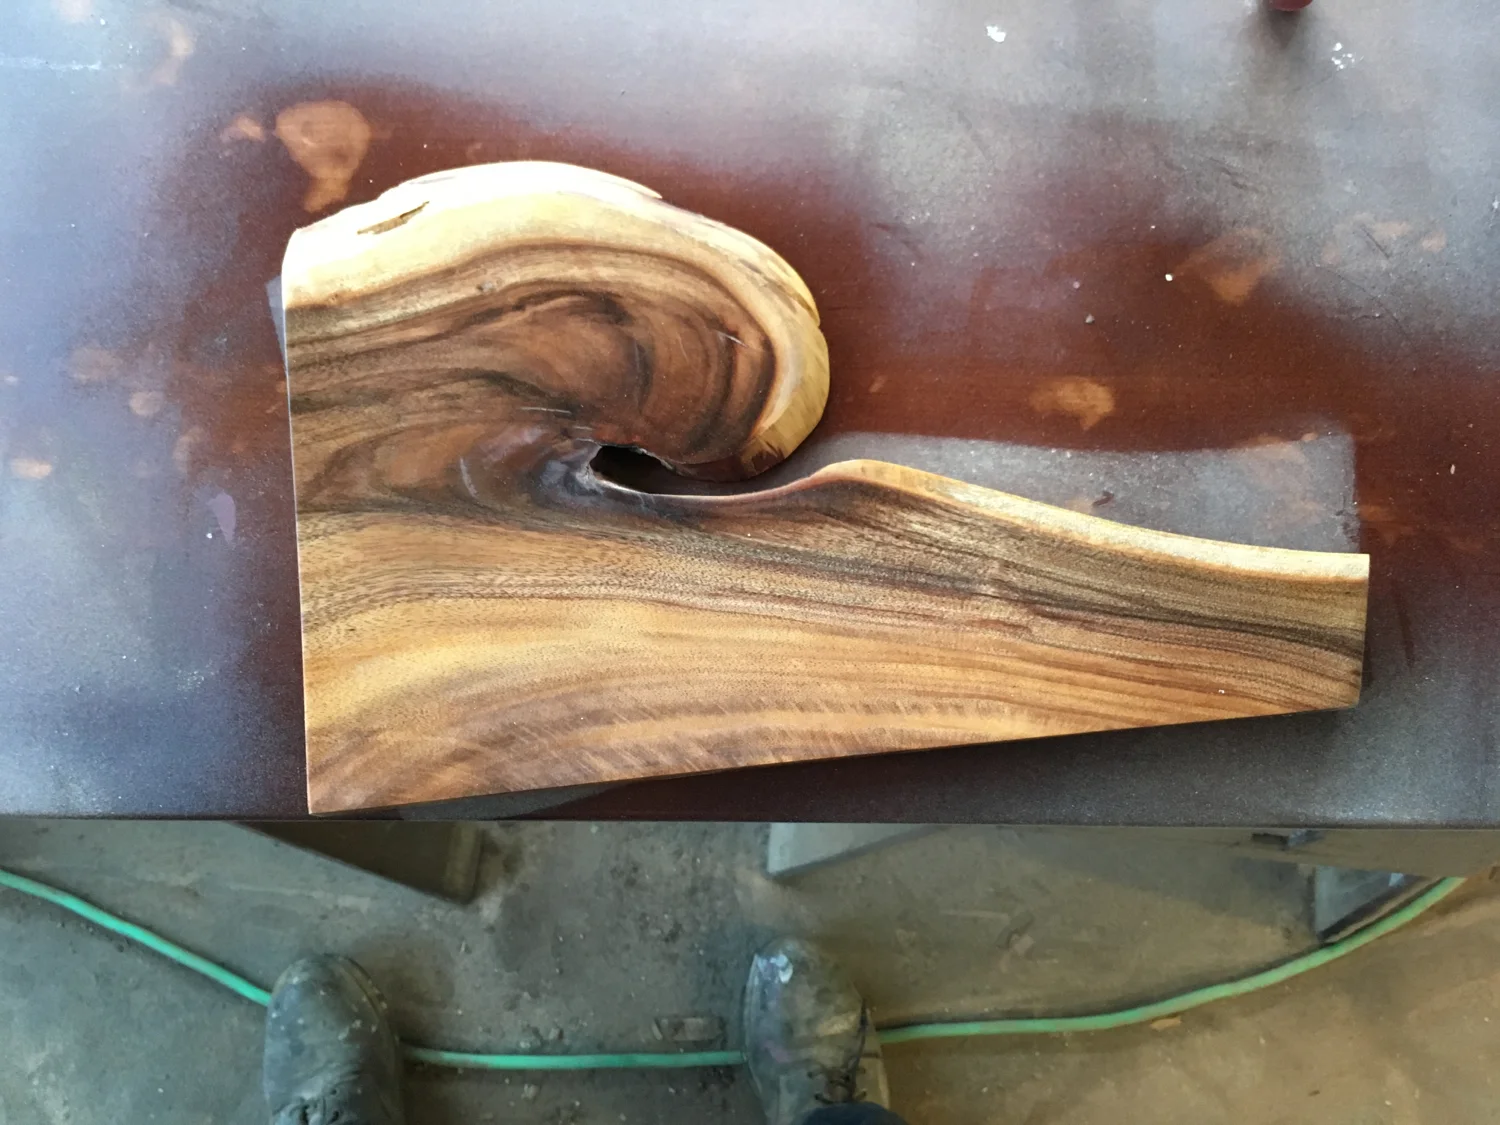
I just made some of my favorite art pieces yet. The wood is formosa koa, which has beautiful color, grain and glow to it. I had some small pieces which were not flat or thick enough to make into furniture, and they had really beautiful live edges. And, I'm lucky enough to have two similar pieces! To top it off, the live edge looks like a wave. Sometimes, even Hawaiian wood has the surf spirit.